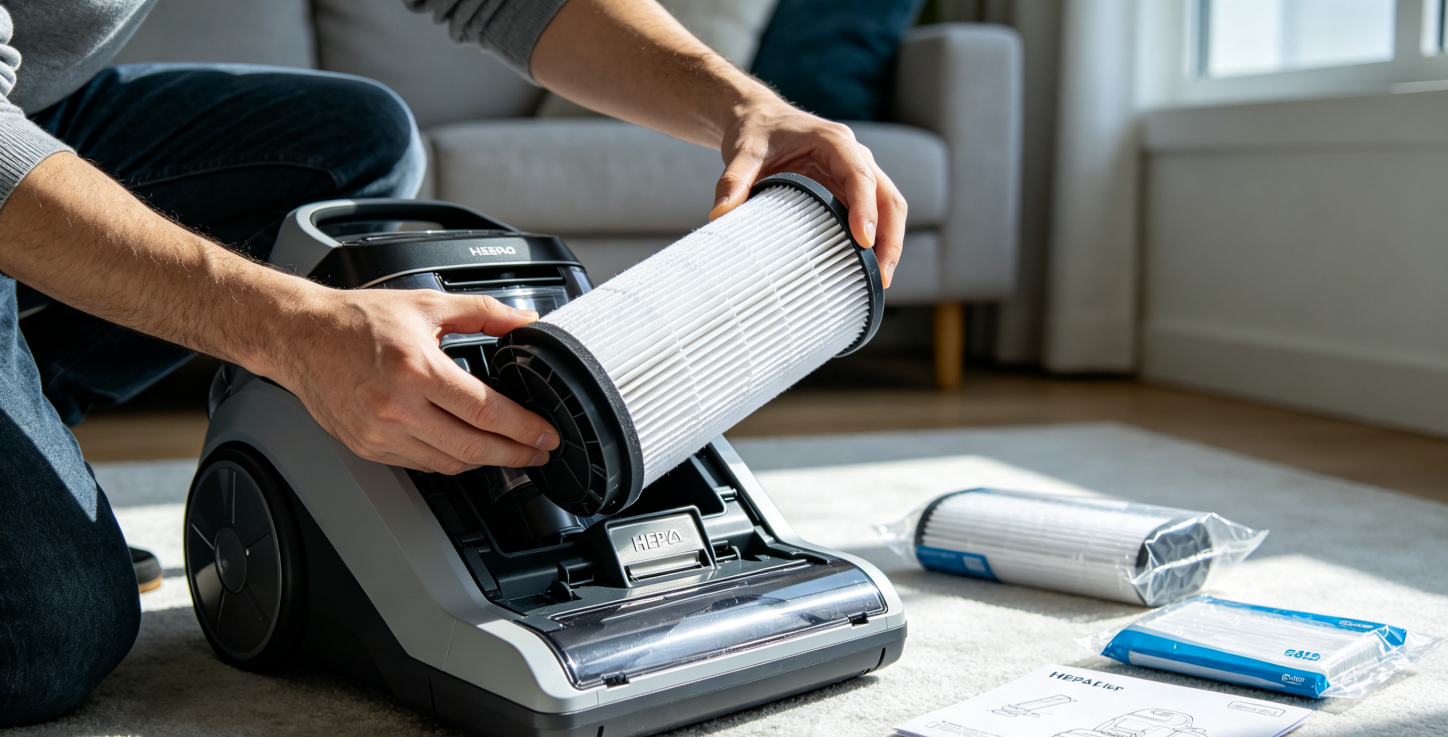
Installing a vacuum filter is one of those tasks that sounds technical until you’ve done it once — and then it feels almost embarrassingly simple. Most hepa filter replacement tasks take about two minutes. There are no tools required, no disassembly, and no special knowledge needed. The hardest part is usually finding where the filter actually lives inside your vacuum, which is different for every brand and model. If you are unsure about filter replacement frequency, please refer to the guide on how often to replace your filter.
Choose the right filter cartridge before you begin
This is the step most people skip, and it’s the one that causes the most problems.
Vacuum filters are not universal. A filter from a Dyson V11 will not fit a Dyson V8. A Shark filter won’t drop into a Bissell. Even within the same brand, different models use different filter dimensions, shapes, and media types.
How to find your vacuum’s model number:
- Check the bottom of the vacuum — there’s usually a sticker with the model number
- Look inside the dust cup or dustbin on cordless and robot models
- Check the original purchase receipt or the manual
Once you have the model number, you can match it to a compatible replacement filter. Compatible aftermarket filters are a practical alternative to OEM parts — they’re often 40–60% cheaper and, when made by a quality manufacturer, perform to the same filtration standard.
Tools You’ll Need
None. Seriously — vacuum filter installation is tool-free in almost every case. You won’t need anything except these optional items to have nearby:
- A trash bag (for the old filter)
- A cloth or paper towel (the old filter can be dusty)
- Your vacuum’s manual (if you’re unsure where the filter is)
Where Is the Filter on My Vacuum?
Filter location varies significantly by vacuum type. Here’s a quick reference:
Upright vacuums
Usually behind the dust cup or at the back/top of the motor housing. Some models have both a pre-motor filter and a post-motor exhaust filter — these are separate parts in separate locations.
Cordless stick vacuums
The filter is typically at the top of the motor unit — the section you hold when vacuuming. On Dyson V-series models, it’s a cylindrical purple or blue unit that twists off counterclockwise.
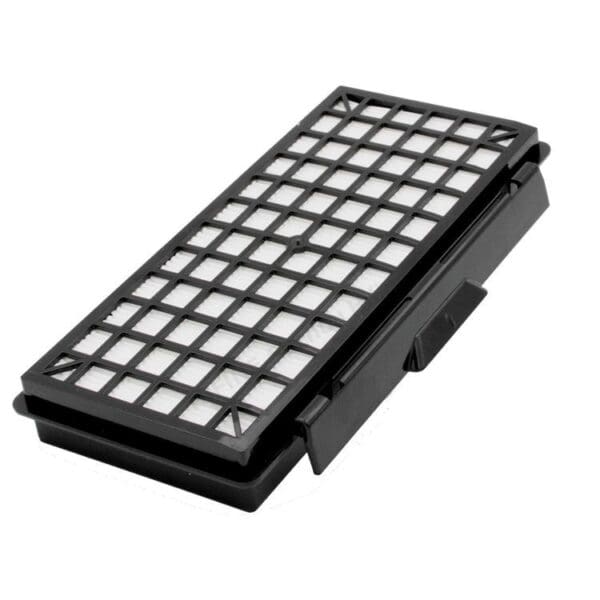
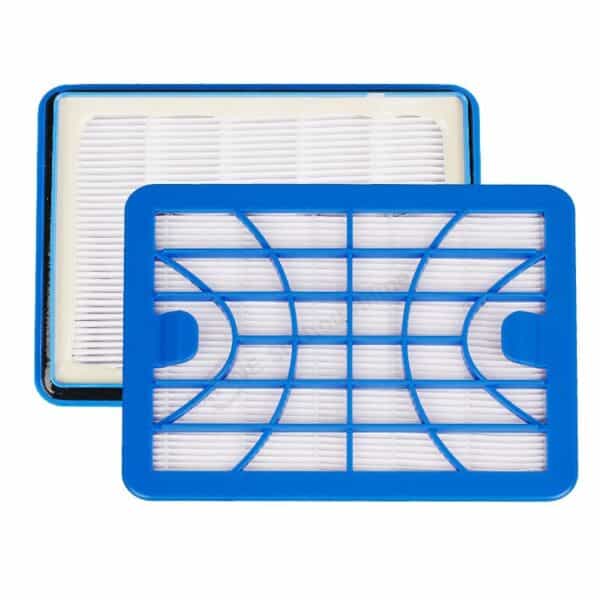
Canister vacuums
The HEPA exhaust filter is usually on the back of the machine where air exits. On bagged models like Miele, the dust bag itself is also a filter — you’ll access it by opening the top lid.
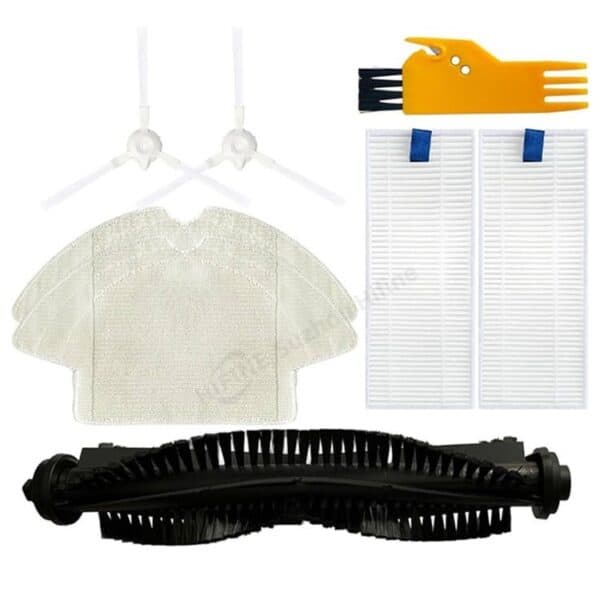
Robot vacuums
The filter sits inside the dustbin. Remove the dustbin from the robot first, then slide or pull the filter out from the dustbin frame.
Filter Cartridge Step-by-Step Installation Guide
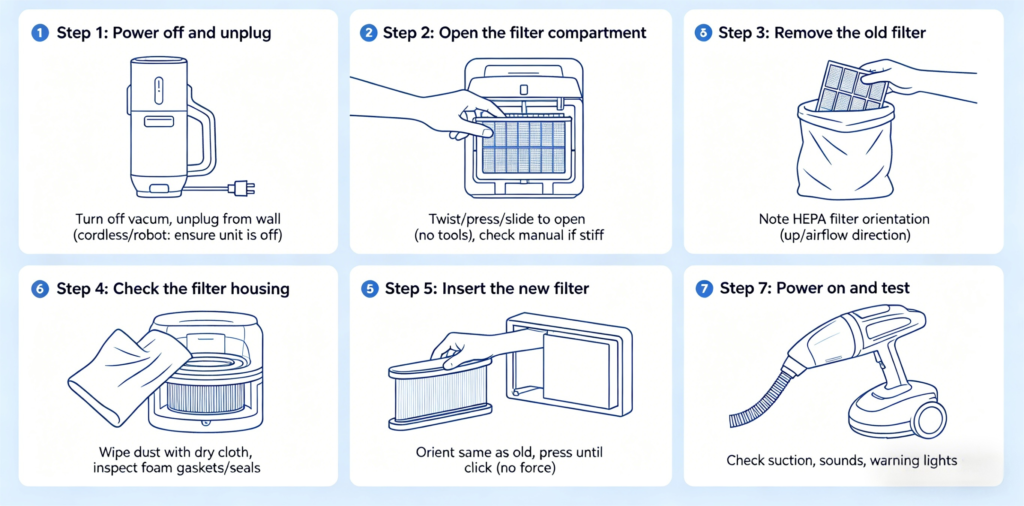
These filter installation tips will help you complete the process smoothly and avoid common mistakes.
Power off and unplug
Turn the vacuum off and unplug it from the wall before opening any panels or removing any parts. For cordless and robot vacuums, make sure the unit is off — not just idle.
Open the filter compartment
Follow the guide above to locate the filter on your specific vacuum type. Most compartments open with a simple twist, press, or slide — no tools needed. Some models have a small tab or button you press to release the cover.
If the compartment is stiff, don’t force it. Check the manual to confirm you’re opening it correctly. Forcing it can crack the plastic housing.
Remove the old filter
Take out the old filter carefully — it will likely be coated in dust. Hold it over a trash bag or go outside before pulling it fully out.
Note the hepa filter orientation before you remove it: which way is “up,” and which side faces the airflow. This will help you install the new one correctly.
Check the filter housing
Before inserting the new filter, take a moment to look inside the housing. Wipe away any loose dust or debris with a dry cloth. Don’t use water inside the vacuum housing.
If there are any foam gaskets or rubber seals around the filter housing, make sure they’re intact and seated properly. These seals prevent unfiltered air from bypassing the filter — if they’re cracked or missing, the filter won’t perform at full efficiency.
Insert the new filter
Orient the new filter the same way the old one was seated. Most filters are designed to only fit correctly in one direction — if it doesn’t slide in smoothly, rotate it 180 degrees and try again.
Press it gently into place. You should feel or hear a light click or snap when it’s fully seated. Don’t force it — if significant pressure is needed, double-check that you have the correct filter for your model.
Close the compartment and secure
Close the filter cover or panel the same way you opened it. Make sure it’s fully latched — on many vacuums, an improperly closed filter compartment will cause a suction drop, and on some models it will trigger a warning indicator.
Power on and test
Plug in and turn on your vacuum. Run it briefly and check for:
- Normal suction at the head
- No unusual sounds (rattling can indicate the filter isn’t seated correctly)
- No warning lights remaining on
If suction seems low or a filter light is still on after installation, turn the vacuum off and check that the filter is fully seated and the compartment is properly closed.
Brand-Specific Installation Notes
Dyson V-series
The filter is the cylindrical unit at the top of the motor. Twist counterclockwise to remove (about a quarter turn), pull straight up, insert the new filter, and twist clockwise until it locks. Do not install a wet filter — if you’ve washed it, wait 24 hours.
Shark Navigator / Rotator
These models typically have two washable filters plus a separate HEPA exhaust filter at the back. Replace them separately — they have different part numbers and replacement intervals.
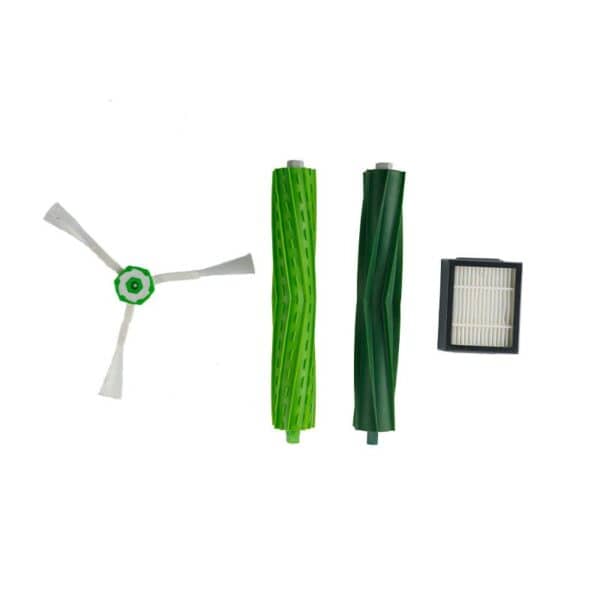
iRobot Roomba
Remove the dustbin by pressing the release button on the vacuum body. Open the dustbin lid, then slide the filter out of its slot. Slide the new filter in with the yellow tab facing up and the filter media facing the dustbin interior. Close the lid, reinsert the dustbin.
Note: Roomba filter part numbers differ by series. A 600-series filter will not fit an i-series. Confirm your series before ordering.
Miele
Open the top lid to access the dust bag first. The AirClean exhaust filter is accessible from the back panel — press the release tabs and pull the old filter out. Slide the new one in until it clicks. Replace the dust bag at the same time if it’s more than halfway full.
What If the Filter Doesn’t Fit?
If the new filter won’t seat correctly, the most likely reason is an incorrect part. Double-check your vacuum’s model number and compare it against the filter’s compatibility list.
A few other things to check:
- On some models, there’s a small alignment pin or filter housing groove that must line up before the filter will seat
- Some filter compartments have a directional arrow indicating airflow direction — the filter should be installed to match
- If you bought from a third-party supplier, confirm the part number matches your model exactly
A Note on Aftermarket Filters
OEM filters are always a safe choice — but they’re often significantly more expensive than aftermarket alternatives.
Quality aftermarket filters made by dedicated filter manufacturers offer equivalent filtration performance at a lower price point. The key factors to look for:
- Listed particle capture efficiency
- Confirmed compatibility with your exact model number
- Physical dimensions that match the OEM part
Avoid extremely cheap filters with no listed specifications. The filtration rating is what matters — not just the shape. HIFINE specializes in manufacturing medical-grade H13 and H14 True HEPA air purifier filters. Whether you need a single compatible replacement or a large-scale private-label project, HIFINE offers deep manufacturing expertise, responsive communication, and consistent product quality.
End
Installing a vacuum HEPA filter takes two minutes and requires nothing but your hands. The only thing that requires attention is making sure you have the right filter for your specific model before you start.
Get that right, follow the steps above, and you’ll have a vacuum that performs the way it’s supposed to — cleaner floors and cleaner air.