
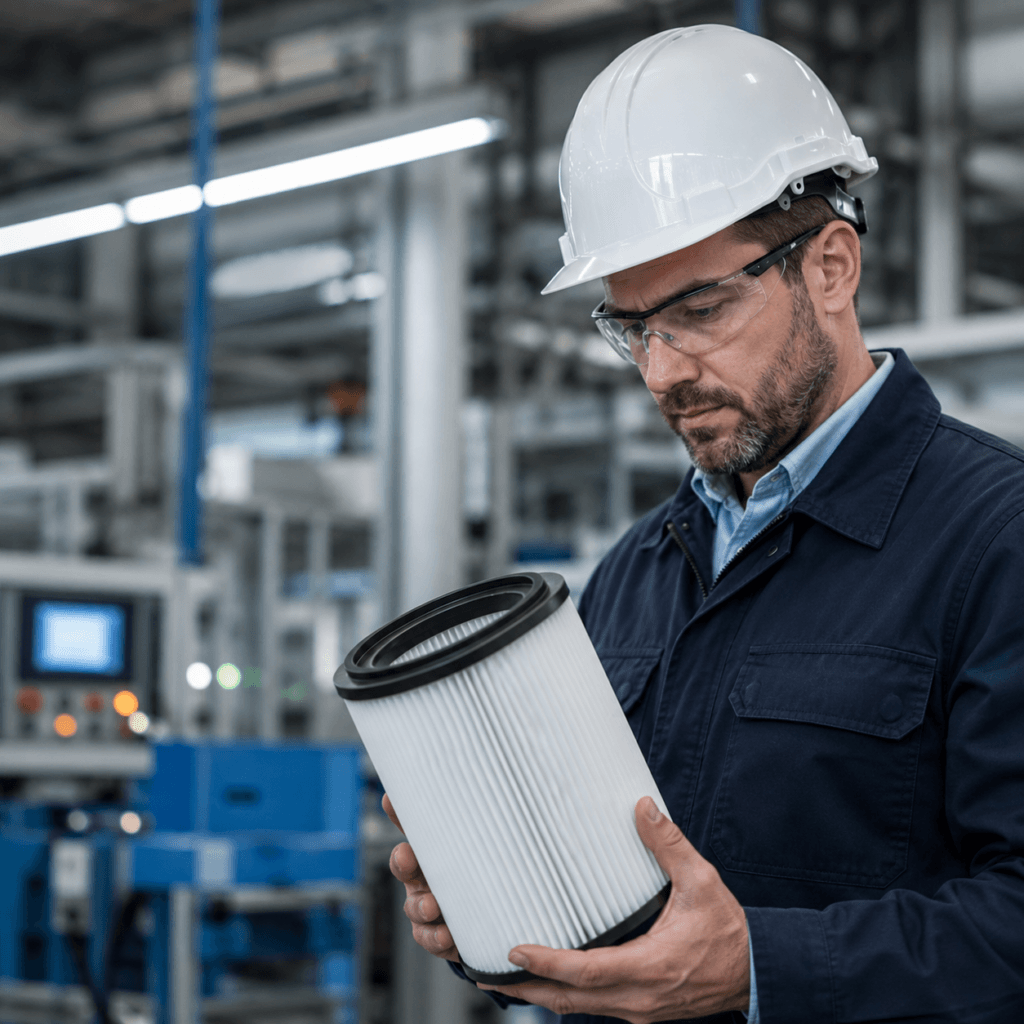
Installing a vacuum filter is one of those jobs that sounds more involved than it is. Most people do it in under two minutes, then wonder why they’d been putting it off. No tools, no disassembly, no special knowledge — the only thing that actually trips people up is buying the wrong filter before they start.
This guide covers every major vacuum type, with brand-specific installation steps for Dyson, Shark, Bissell, Hoover, iRobot Roomba, Miele, Tineco, Ecovacs, Samsung Jet, and Eufy. If you’re unsure how often to install a fresh filter, refer to the guide on filter replacement frequency.
If you have purchased the correct product, please skip to the installation steps.
Washable vs. replaceable — what kind of filter does your vacuum use?
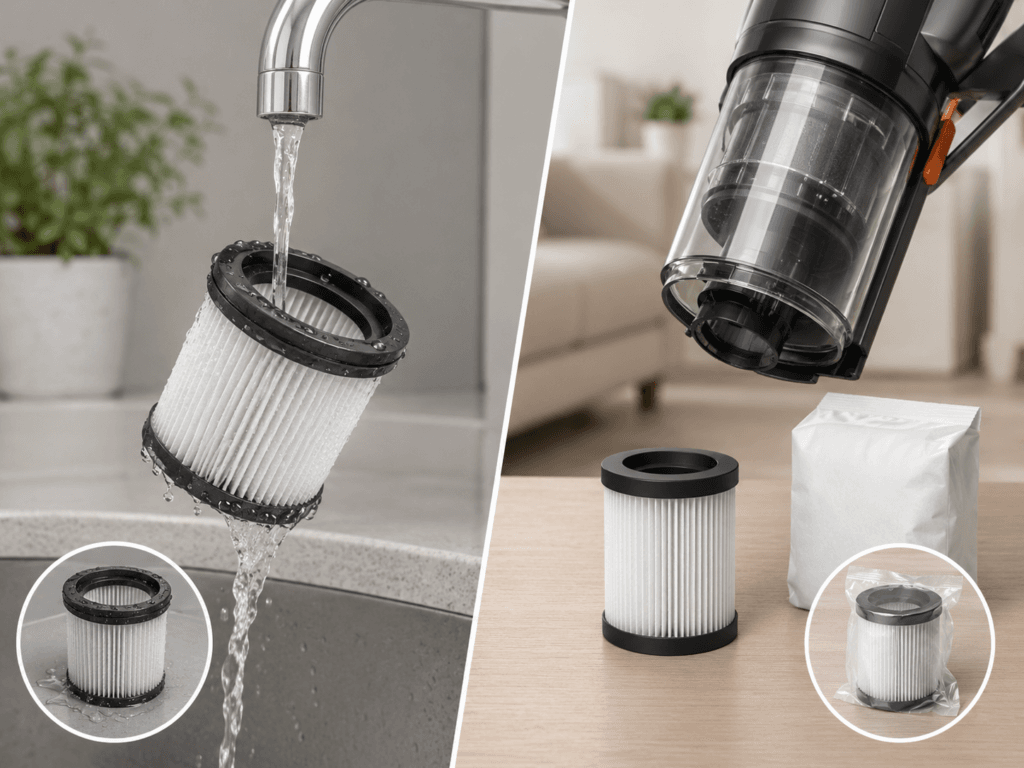
This is worth knowing before anything else, because the installation process differs depending on filter type, and washing the wrong kind does real damage.
Washable foam and felt filters are found in most cordless stick vacuums — Dyson V-series, Shark Navigator, Tineco PURE ONE, and similar. These rinse under cold water, air dry for 24–48 hours, and go back in. They’re maintained, not replaced on a schedule.
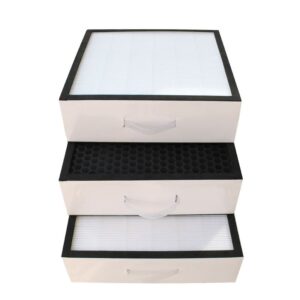
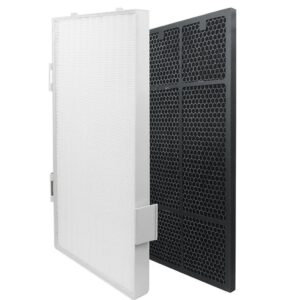
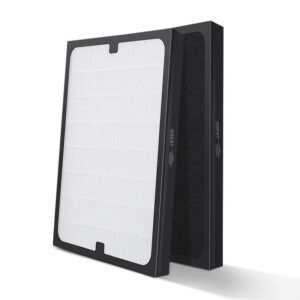
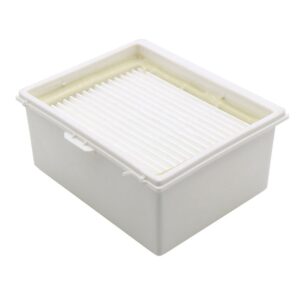
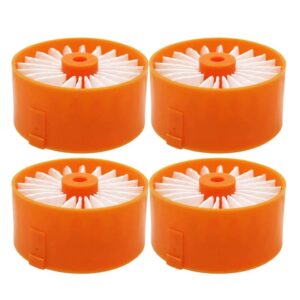
Replaceable HEPA cartridge filters are the sealed paper or fiber units found in uprights, canister vacuums, and robot vacuums — Bissell, Hoover, Miele, iRobot Roomba, and Ecovacs. These don’t get washed. When they’re loaded, you install a new one.
Some vacuums use both at once: a washable foam pre-motor filter protecting a replaceable HEPA cartridge downstream. Shark Navigator and Rotator models work exactly this way — their filter kits come as two separate parts with different installation intervals for a reason.
If you’re not sure which type your vacuum uses, check the label printed directly on the filter. Washable filters usually have a water droplet icon or say “washable” explicitly. If there’s no such marking, treat it as replaceable.
Choose the right filter before you begin
Vacuum filters are model-specific. A filter for a Dyson V11 won’t fit a V8. A Shark NV350 filter is different from an NV500 filter. Even filters that look identical in product photos can have different dimensions, media density, or frame shapes underneath.
How to find your vacuum’s model number:
Check the sticker on the bottom of the machine — it’s almost always there. On cordless models, look inside the dust cup or on the underside of the motor body. Robot vacuums usually have the model number on their belly or inside the dustbin compartment. If the sticker has worn off, check the original box or purchase receipt.
Once you have it, match it to the filter’s compatibility list exactly — not just the brand and product series name. Several Shark and Dyson part numbers differ by a single digit and look identical in listing photos.
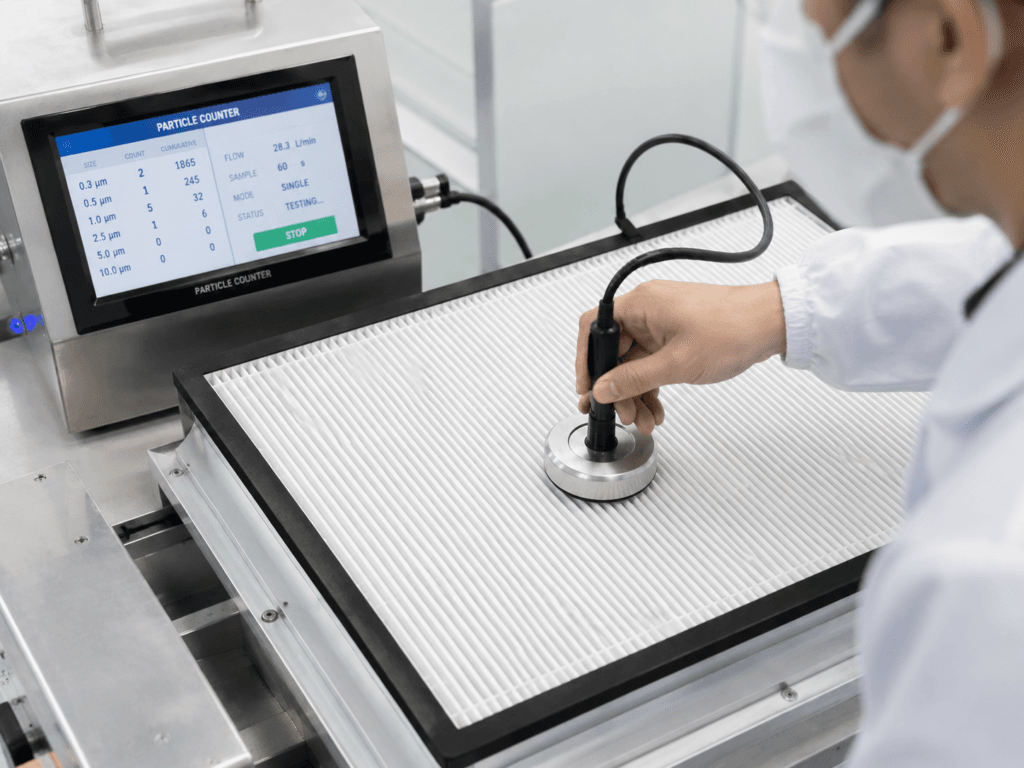
Compatible filters from reputable manufacturers typically cost 40–60% less than OEM and perform to the same standard when properly certified. What to verify before buying: the stated filtration grade (H13 HEPA captures 99.97% of particles at 0.3 microns; H14 reaches 99.995%), confirmed compatibility with your exact model number, and physical dimensions that match the original. Skip anything with no listed filtration specification — shape alone tells you nothing about how the filter actually performs.
Tools you’ll need
None. Vacuum filter installation is tool-free in every case covered here. Optionally, have a trash bag nearby for the old filter and a dry cloth to wipe out the housing. If you’re installing on a model you haven’t opened before, having the manual within reach for 30 seconds can save a cracked housing.
Where is the filter on my vacuum?
Here’s a quick reference.
Cordless stick vacuums (Dyson, Shark, Tineco, Samsung Jet): The filter sits at the top of the motor unit — the section you hold while vacuuming. On Dyson V-series it’s a cylindrical unit in purple or blue. On Tineco PURE ONE and Samsung Jet models it’s a similar cylinder that releases with side tabs.
- Upright vacuums (Bissell, Hoover, Shark Navigator uprights): Usually behind or below the dust cup. Many models have a pre-motor foam filter near the dustbin and a separate HEPA exhaust filter at the back or underside.
- Canister vacuums (Miele, some Dyson): The HEPA exhaust filter sits at the back of the machine where air exits. On bagged Miele models, the dust bag itself is the primary filter — the AirClean cartridge behind it is secondary.
- Robot vacuums (Roomba, Ecovacs Deebot, Eufy RoboVac): The filter lives inside the dustbin. Remove the dustbin from the robot first, then the filter pulls or slides out from within the dustbin frame.
Whether you need genuine filters or replaceable filters, you can find them on HIFINE.
Signs it’s time to install a new filter rather than clean the old one
Worth checking before you start the installation. If the filter is past its useful life, cleaning it first is a wasted step.
Suction hasn’t recovered after a filter clean. A washable filter that’s been rinsed and reinstalled many times eventually loses structural integrity — the foam compresses, the felt degrades, and airflow stays restricted regardless of how clean the surface looks.
The vacuum smells during use. A burning smell means the motor is working harder than it should to pull air through a clogged filter. A musty smell that appeared shortly after a filter wash almost always means the filter went back in before the center layers were fully dry.
The filter indicator stays on after a correct reinstall. On Dyson V10, V11, V12, and V15 models, Tineco S-series, and Samsung Jet vacuums, the indicator is tied to an airflow sensor, not just a time counter. If it stays on with a correctly seated filter, the filter is usually worn past the point where cleaning helps — time to install a new one.
Visible damage: tears in the filter media, a cracked frame, or permanent discoloration that won’t wash out.
Twelve months of service. With monthly maintenance, most foam pre-motor filters in cordless vacuums last around a year. HEPA cartridges in uprights and robot vacuums vary by model — check the manufacturer’s recommendation, then use the signals above to decide whether to go earlier.
how to install a vacuum HEPA filter
No tools required for any of the steps below. Brand-specific differences are in the next section.
Power off completely
Turn the vacuum fully off and unplug it from the wall. For cordless and robot models, make sure it’s actually powered down — not just idle, docked, or in standby.
Open the filter compartment
Locate the filter following the reference above. Most compartments open with a twist, press, or slide. If there’s resistance, check the manual before applying more force — cracking a plastic housing is a more expensive problem than taking an extra minute to look something up.
Remove the old filter
Pull it out carefully — it will be coated in dust. Do this over a bin, or go outside if you have allergies. Before the filter is fully out, note its orientation: which end faces up, which side faces the airflow. Many filter housings have a directional arrow printed inside the compartment — look for it.
Check the housing
Wipe loose dust from inside the filter housing with a dry cloth. Don’t use water inside the vacuum body. Check the foam gaskets or rubber seals around the filter opening — these seals are what stop unfiltered air from bypassing the filter through gaps in the housing. If they’re cracked or have shifted, the new filter won’t perform at full efficiency even if it’s installed correctly.
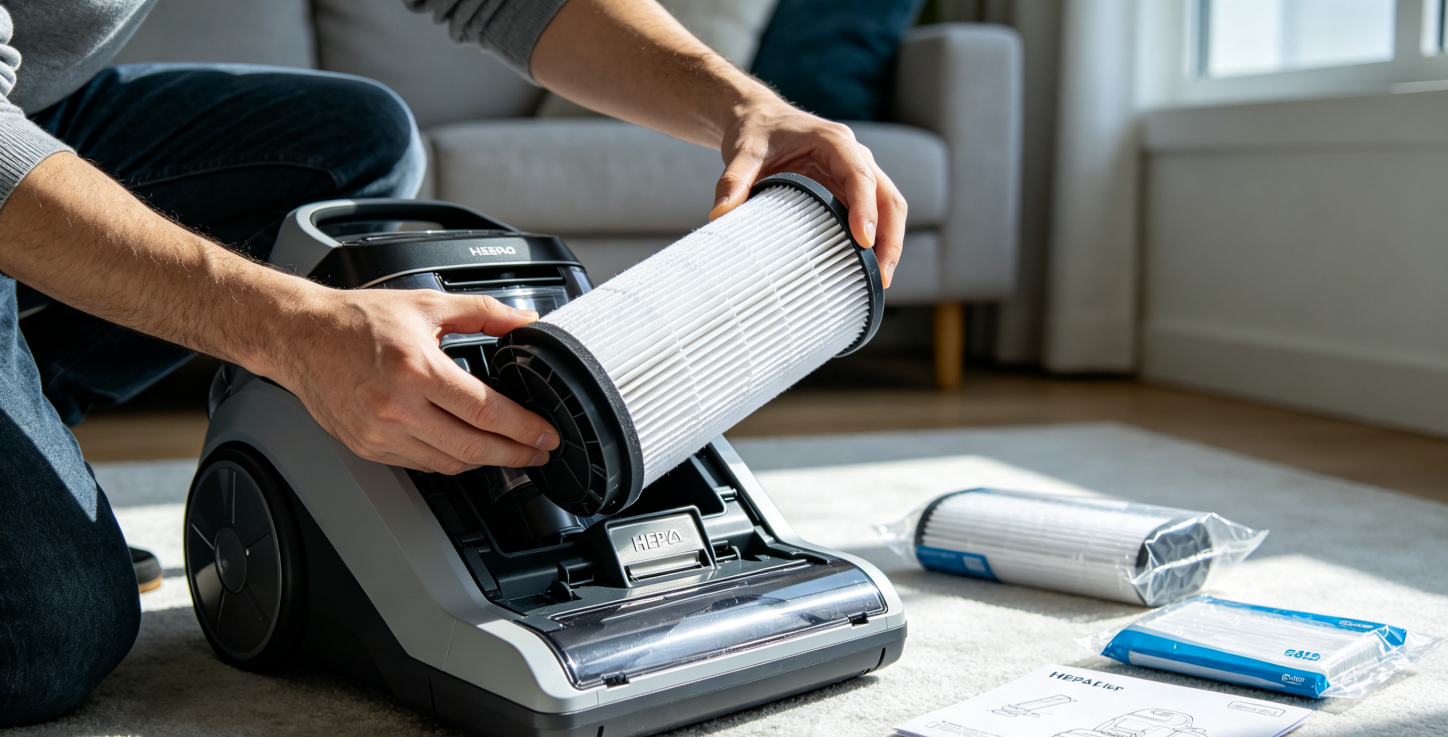
Install the new filter
Orient the new filter the same way the old one sat. Most filters are shaped so they only fit correctly in one direction — if it’s not sliding in smoothly, rotate it 180 degrees and try again before applying more pressure. Press gently until you feel or hear a click or snap. Significant resistance is a signal to stop and check: either the filter isn’t aligned or it’s the wrong part for your model.
Close and secure the compartment
Close the cover the same way you opened it. Make sure it’s fully latched — an improperly closed filter compartment causes an immediate suction drop on most vacuums, and on models with electronic indicators it will trigger a warning that won’t clear until the housing seats properly.
Test
Plug in and run the vacuum briefly. Check for normal suction at the head, no rattling (which usually means the filter isn’t fully seated), and no warning lights. If suction is low or an indicator stays on, power off, remove the filter, and reinstall — paying attention to whether all tabs, clips, or the twist-lock engage fully before you close the compartment.
Brand-specific installation notes
Dyson V-series (V7, V8, V10, V11, V12, V15)
The filter is the cylindrical unit at the top of the motor body. Twist counterclockwise roughly a quarter turn, pull straight up, insert the new filter, twist clockwise until it locks. Do not install a wet filter — if you’ve washed it, wait a minimum of 24 hours, or 48 hours in humid conditions.
A detail worth knowing: V10, V11, V12, and V15 filters are noticeably thicker than V7 and V8 filters. They look similar but are not interchangeable. The V11, V12, and V15 have a filter indicator light — if it stays on after a correct installation, check that the clockwise twist is fully engaged.
Shark Navigator / Rotator (NV350, NV500, NV650, ZU series)
Two filter systems run simultaneously: a washable foam and felt pre-motor set accessible by removing the dust cup, and a separate HEPA exhaust cartridge at the back of the machine. These have different part numbers. The HEPA cartridge slides out after removing a small cover panel on the rear. Install them separately — don’t assume replacing one addresses the other.
Bissell (CrossWave, CleanView, Pet Pro)
CrossWave models have a foam filter and a separate filter strainer (a mesh screen) that both need service. Access both through the dirty water tank compartment: remove the tank, open the filter door, pull the foam filter straight out. The strainer is a separate mesh piece in the same area.
CleanView and Pet Pro uprights keep the filter at the back near the exhaust outlet. Press the cover release tab, slide the old filter out, slide the new one in until it clicks.
Hoover (WindTunnel T-Series, ONEPWR cordless)
WindTunnel T-series: the filter panel is on top of the machine behind the handle. Press the release, lift the panel — both the foam pre-filter and HEPA cartridge are accessible from the same compartment. Replace them individually.
ONEPWR: the filter is at the rear of the motor unit. Press both side tabs simultaneously — pressing only one will make the filter feel stuck and cause people to force it incorrectly.
iRobot Roomba (600, i, j, s series)
Press the dustbin release on the robot body and remove the dustbin. Open the dustbin lid, slide the old filter out of its slot. Slide the new filter in with the yellow tab facing up and the filter media facing the dustbin interior. Close the lid, reinsert the dustbin.
Roomba filter part numbers differ by series — a 600-series filter will not fit an i-series robot. The i-series and j-series share a filter; the s-series uses its own. Confirm your series before ordering, because the filters look nearly identical in product photos.
Miele (C1, C2, C3, S-series)
Open the top lid to access the dust bag first. If the bag is more than halfway full, replace it now — installing a fresh HEPA cartridge over a full dust bag is one of the more common Miele maintenance oversights.
The AirClean exhaust cartridge is behind the back panel. Press both release tabs simultaneously and pull the cartridge straight out. Slide the new one in until it clicks audibly. Miele’s filter housing is sealed — the cartridge must be fully seated for airflow to work correctly through the system.
Tineco (PURE ONE S11, S15, FLOOR ONE S5)
The cylindrical filter sits at the top of the motor unit. Press both side release tabs, pull the filter cylinder straight out, insert the new one, press down until both tabs engage with a click.
S15 models have an LED filter reminder tied to an airflow sensor rather than a timer. If it activates immediately after installing a new filter, the filter isn’t fully seated — remove it and reinstall with both tabs clicked in before assuming the filter is defective.
Ecovacs Deebot (T20, T30, X2 series)
T-series: press the side release on the robot body to remove the dustbin. The filter is a rectangular cartridge that pulls straight up from inside the dustbin frame.
X2 series: the dustbin accesses from the side of the robot rather than the top — the filter mechanism inside the dustbin is the same.
Ecovacs filters are designed to be replaced, not washed. Don’t attempt to rinse them.
Samsung Jet (Jet 60, 75, 90 series)
The multi-layer filter system sits in the lower section of the vacuum body. Press both side tabs simultaneously to release — pressing only one makes the filter feel stuck, which leads people to force it. The filter stack pulls out as a unit. Install the new one with the airflow direction arrow pointing toward the motor, press until both sides click in.
Samsung Jet separates the washable pre-filter from the sealed HEPA layer — two distinct components in the same housing. The pre-filter rinses; the HEPA layer gets replaced.
Eufy RoboVac (11S, G30, 25C series)
Remove the dustbin by pressing the body release. The filter pulls straight out from the top of the dustbin — no tabs, no cover, it just slides free.
The “Clean” indicator light blinking is the replacement signal on most RoboVac models. Note that Gen 1 and Gen 2 RoboVac filters are not interchangeable despite looking similar — check the model number on the underside of the robot before ordering.
What if the filter doesn’t install correctly?
The most common cause is an incorrect part. Recheck the vacuum’s model number and verify it against the filter’s compatibility list — not just the brand name or series.
Other things to check: some housings have a small alignment pin or groove that has to line up before the filter will seat; some compartments have a directional arrow that the filter’s airflow marking needs to match; on robot vacuums, the dustbin itself has to be fully inserted into the robot body before the system recognizes the filter as properly installed.
How to reset the filter indicator light after installation
On Dyson V10, V11, V12, and V15 models, Tineco S-series, and Samsung Jet vacuums, the indicator resets automatically once the machine detects restored airflow through a correctly seated filter. If it stays on: power off, remove the filter, reinstall it with every tab or twist-lock fully engaged, then restart.
On Roomba models, the app sometimes shows a filter alert even after a correct installation. Clear it manually: Settings → Robot Maintenance → Filter, confirm the filter has been replaced. If the light or alert persists after all of this, the filter may be defective — test with an OEM filter to rule out a sensor issue before assuming the vacuum has a problem.
A note on aftermarket filters
OEM filters are always the safe default. They’re also reliably overpriced for what they are.
Aftermarket filters from manufacturers who specialize in filtration — rather than companies that just copy the shape — perform to the same standard and cost significantly less. HIFINE manufactures H13 and H14 True HEPA filters for vacuum cleaners and air purifiers, ISO9001 certified and fit-tested to each supported model. Whether you need one filter or a bulk order, the compatibility tool on the product page matches your model number in under a minute.
→ Shop HIFINE vacuum filter replacements
The installation itself takes two minutes. The only part worth spending real time on is confirming you have the right filter before you start — because getting that wrong is the only thing that makes a two-minute job into a problem.