
Your vacuum might be running, but if it smells musty or isn’t picking up dirt the way it used to, the HEPA filter is usually the first place to look.
Most people forget the filter exists until something goes wrong. That’s a shame, because a clogged HEPA filter doesn’t just reduce suction — it pushes fine particles back into the air you’re breathing. Dust mites, pet dander, pollen — all of it gets recycled right back into your home.
The good news? Cleaning a vacuum HEPA filter takes less than ten minutes, costs nothing, and can dramatically extend the life of your machine.
Can You Actually Wash a HEPA Filter?
This is where a lot of people go wrong. Not all hepa filter vacuum are washable — and washing a non-washable one will ruin it permanently.
Here’s a simple rule:
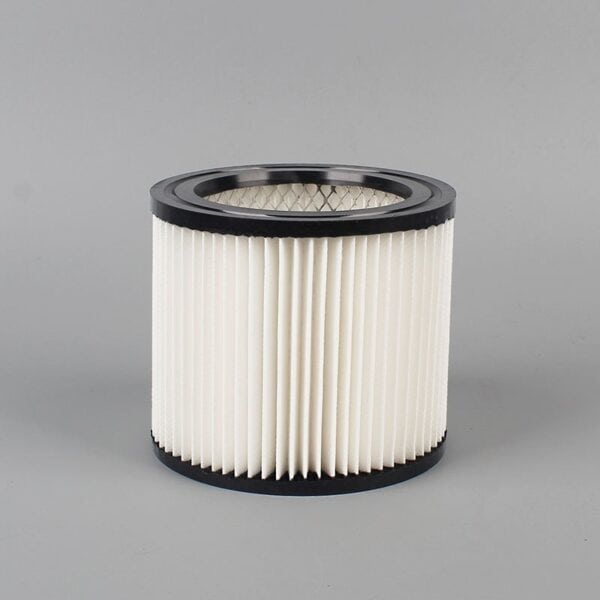
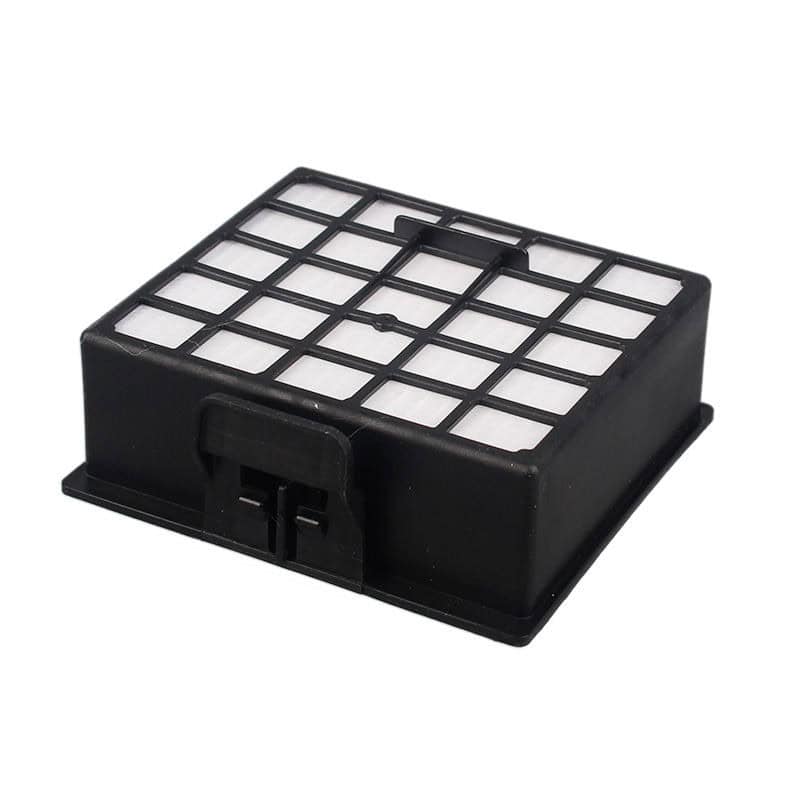
- Washable HEPA filters — usually made of plastic frames with foam or synthetic media. Often labeled “washable” or “permanent.”
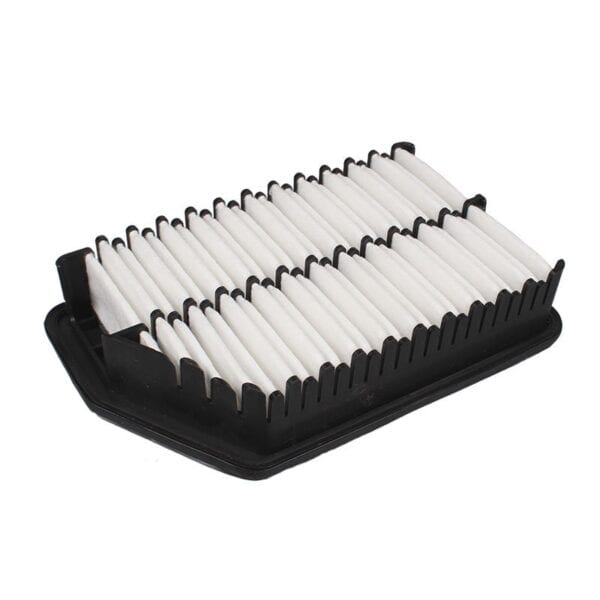
- Non-washable HEPA filters — made of pleated paper or glass fiber. Water will break down the fibers and destroy the filtration capability. These should only be tapped clean or replaced.
Please refer to: Difference between washable and non-washable HEPA filters
Check your vacuum’s manual or look at the filter itself. Most brands print “washable” or “do not wash” directly on the frame. Brands like Shark and some Dyson models use washable foam pre-filters alongside non-washable HEPA cartridges — they’re separate parts with different care instructions.
If you’re not sure, assume it’s non-washable and tap it clean instead.
When Should You Clean the Filter?
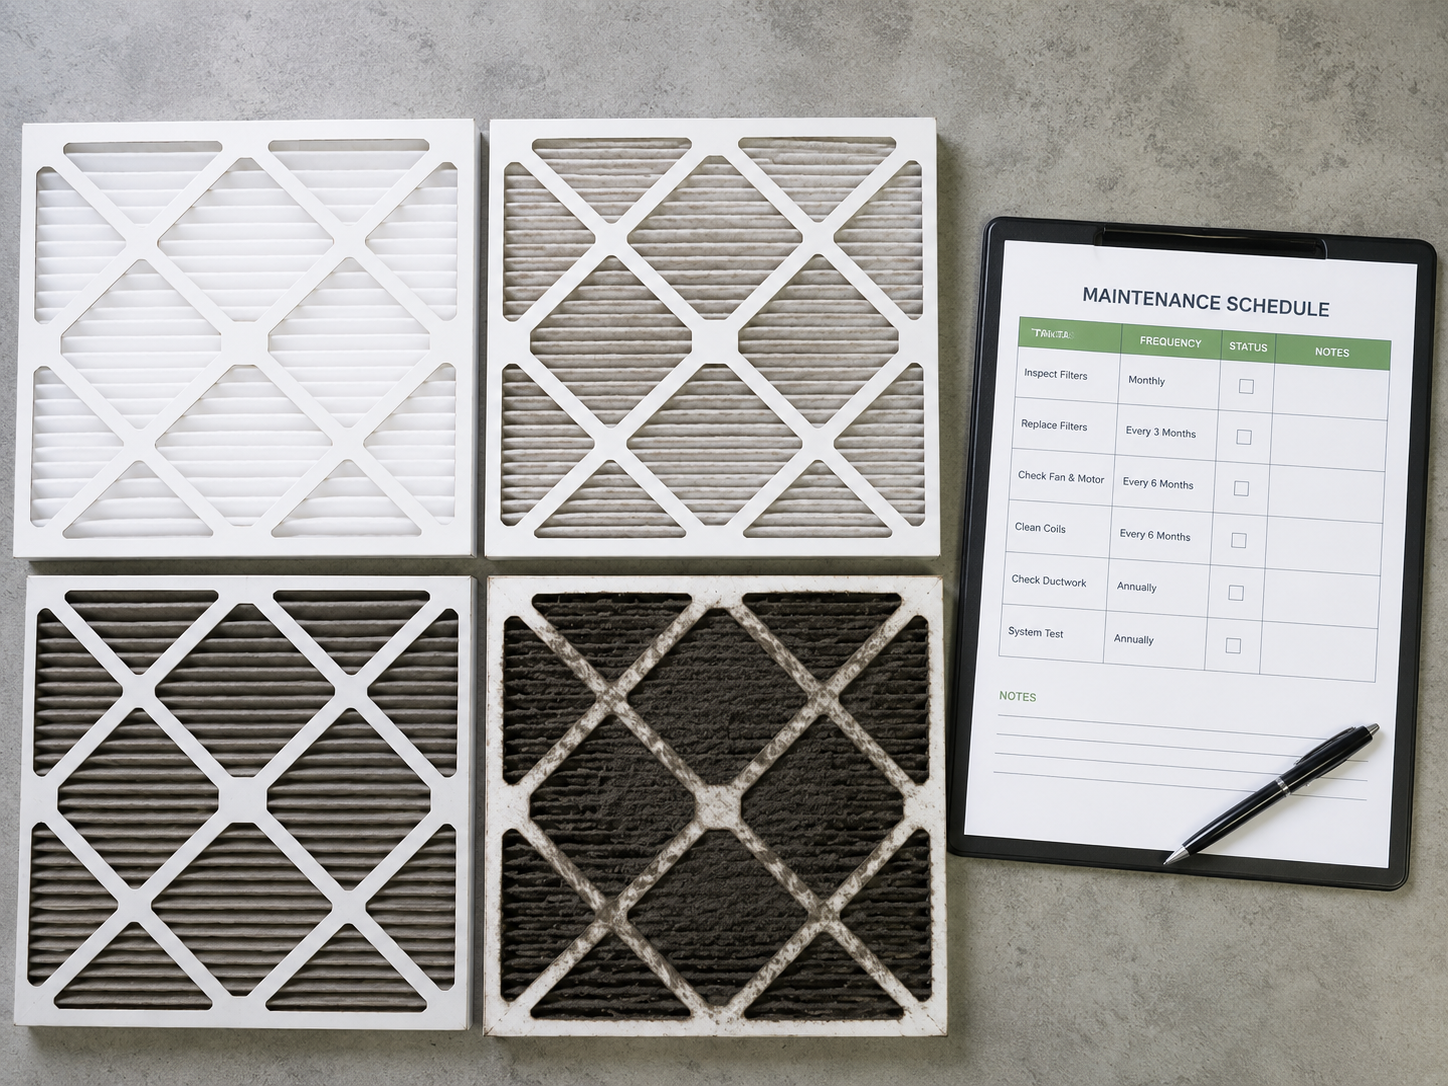
A good baseline is every one to three months depending on how much you vacuum and whether you have pets or allergies. But there are some clear signs it’s overdue:
- Suction feels noticeably weaker
- Dusty or musty smell coming from the exhaust
- Visible gray buildup on the filter surface
- The vacuum motor sounds like it’s working harder than usual
Some vacuums have a filter indicator light — but even if yours doesn’t, setting a calendar reminder every 4–6 weeks is worth it. If you’re unsure how often to change it, you should check out my other article, which explains very well when you should replace your vacuum cleaner filter.
What You’ll Need
- A trash can or outdoor space (filter dust goes everywhere)
- Soft-bristle brush or old toothbrush
- Running water and a sink (washable filters only)
- Clean, dry towel
- 24 hours of drying time (washable filters only)
That’s it. No cleaning solutions, no chemicals. Soap can leave a residue that clogs the filter media and may damage the fibers.
Step-by-Step: How to clean the hepa filter vacuum
Turn off and unplug your vacuum
This seems obvious, but it matters. Unplugging also prevents you from accidentally turning the machine on while the filter is out.
Locate and remove the filter
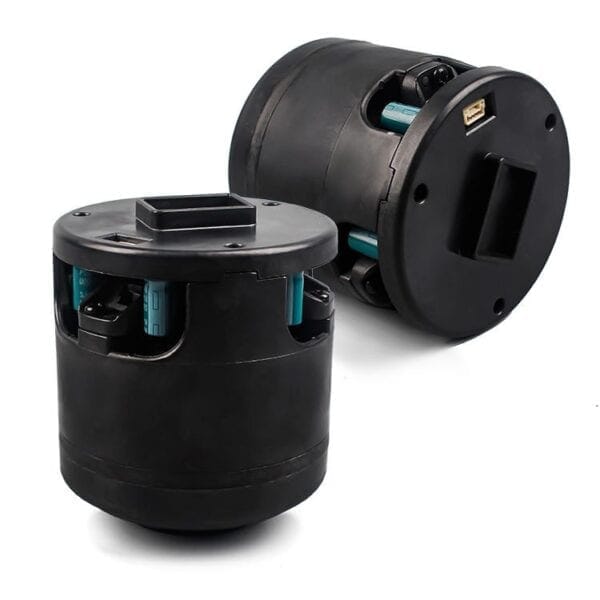
Filter placement varies by brand. On most upright vacuums it’s near the dustbin or behind a panel on the back. Canister vacuums usually have the filter near the motor. Robotic vacuums like iRobot Roomba models typically have a small removable cartridge near the dustbin.
Twist or slide the filter out — don’t force it. If it doesn’t come out easily, check the manual. Some filters have a locking tab.
Tap out loose debris
Take the filter outside or hold it over a trash can. Tap it firmly (not violently) against the edge of the bin to dislodge caked-on dust. You’ll be surprised how much comes out.
For pleated paper filters, use a soft brush to gently work between the pleats. Don’t bend or crush the pleats.
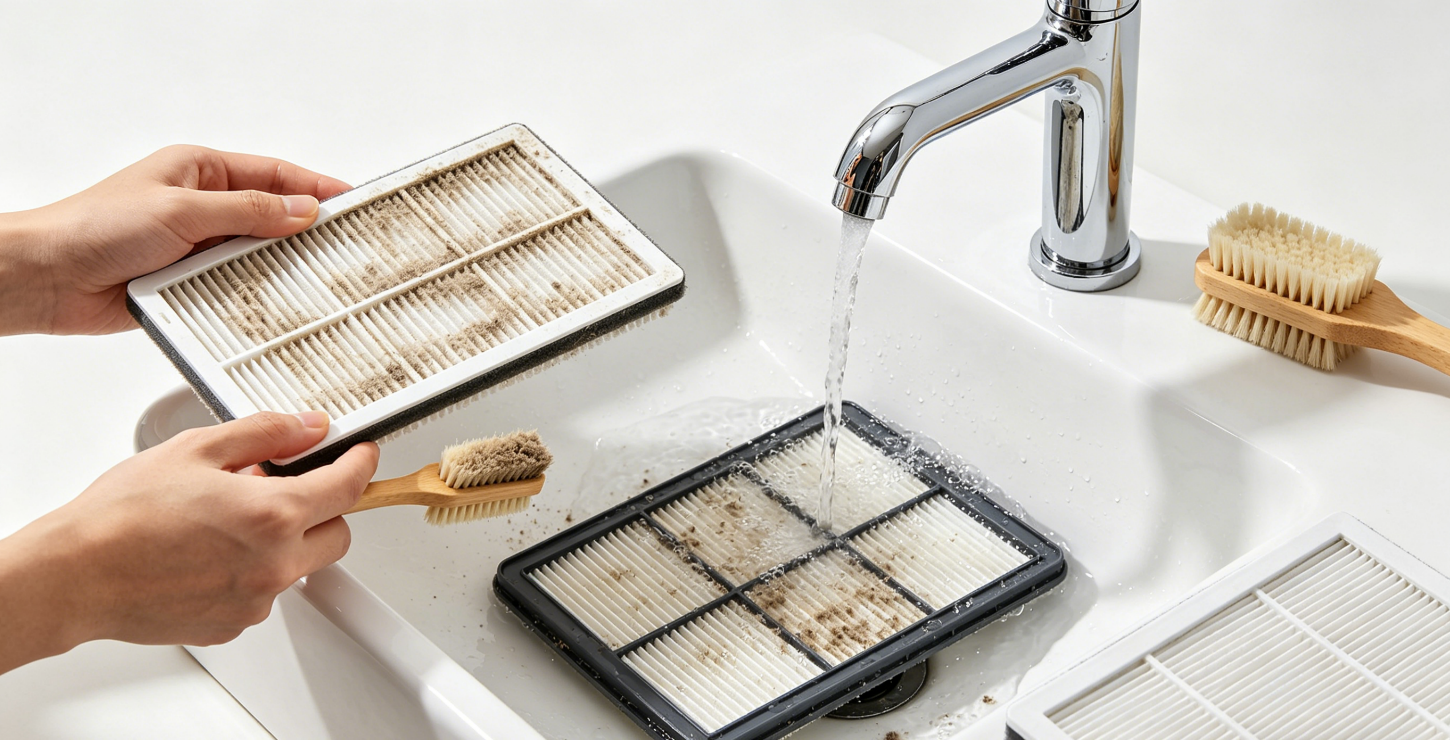
Rinse
Hold the filter under cool, running water. Let the water run through from the clean side outward — this pushes debris out the way it came in rather than deeper into the media.
Keep rinsing until the water runs clear. This can take a few minutes for heavily soiled filters.
Do not use hot water, dish soap, or scrub brushes. All three cause damage.
Shake off excess water and dry completely
Shake the filter gently to remove standing water, then set it somewhere with good airflow — a windowsill or near a fan works well.
The filter must be completely dry before you put it back. This typically takes at least 24 hours. Reinstalling a damp filter can cause mold growth inside the vacuum and permanently damage the motor.
Reinstall and test
Click the filter back into place, reassemble your vacuum, and do a quick test run. If suction has improved noticeably, you’re done.
What If Cleaning Doesn’t Help?
If you’ve cleaned the filter thoroughly and suction still hasn’t improved, the filter is likely past its usable life. HEPA filters — even washable ones — lose effectiveness over time. The fine fibers break down, and no amount of cleaning can restore the original filtration rating.
Most manufacturers recommend replacing the HEPA filter every 6 to 12 months, even with regular cleaning. If you have pets or allergies, lean toward the shorter end of that range.
Using a worn-out filter isn’t just ineffective — it can let fine particulates bypass the filter entirely, which defeats the whole purpose of having a HEPA vacuum.
A compatible replacement filter is usually inexpensive and takes about two minutes to install.
Filter Maintenance by Vacuum Type
| Vacuum Type | Filter Location | Washable? | Clean Every |
|---|---|---|---|
| Upright | Behind dustbin or back panel | Often yes | 1–2 months |
| Canister | Near motor, rear exhaust | Usually no | 2–3 months |
| Robot | Inside dustbin compartment | Varies by model | 2–4 weeks |
| Cordless | Inside the cyclone unit | Yes | 1 month |
Find more brand compatibility comparison tables here.
The Bottom Line
Cleaning your HEPA filter is one of the highest-return maintenance tasks you can do for your vacuum. It costs nothing, takes under ten minutes, and can make a machine feel new again.
The key rules: know whether yours is washable before you touch water, dry it completely before reinstalling, and replace it when cleaning no longer helps.
Do this consistently, and your vacuum — and your air — will both thank you.
FAQ
No. Heat damages the filter fibers and may warp the plastic frame. Air dry only.
Moisture inside the vacuum creates ideal conditions for mold and mildew. It can also short-circuit the motor. Always wait the full 24 hours.
Yes, for non-washable paper filters only. Hold the can at least six inches away and blow from the clean side out. This works better than tapping for fine dust, but do it outdoors — the dust cloud is significant.
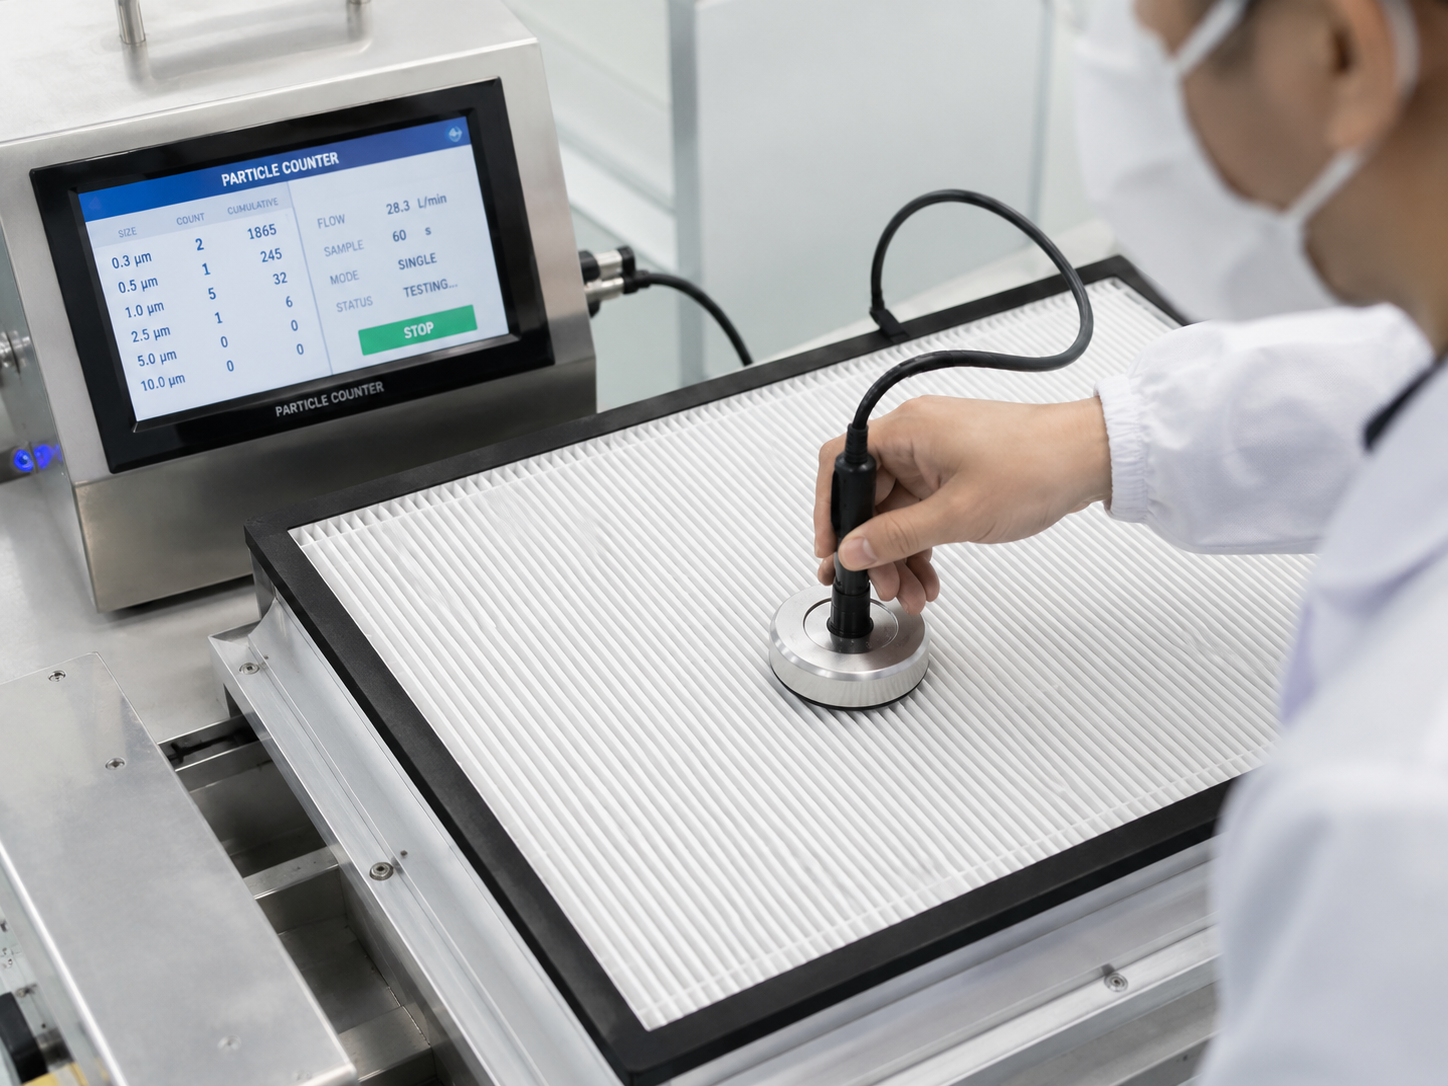
Look for “True HEPA” on the filter or packaging, which indicates it captures 99.97% of particles at 0.3 microns. Filters labeled just “HEPA-style” or “HEPA-like” are not held to the same standard.
Yes, if the filter is certified to the same filtration standard as the OEM part. Quality aftermarket filters from dedicated manufacturers offer the same filtration performance at a lower cost. Look for filters that specify micron rating and particle capture percentage.
Always allow a washed filter to dry for a minimum of 24 hours at room temperature. The filter must be 100% dry before reinstallation to prevent mold growth inside the vacuum. Many manufacturers recommend up to 48 hours in humid conditions.