
If your Dyson has been losing suction or running with a faint burnt smell, the filter is almost certainly involved. The good news: cleaning it takes less than ten minutes of actual effort. The harder truth: cleaning has limits — and knowing where those limits are can save you from breathing air that’s worse than if you’d never run the purifier at all.
Here’s both sides of it.
How to Clean a Dyson Filter: The Short Answer
To clean a washable Dyson filter:
- Remove the filter — power off the machine, then twist and pull the filter free
- Rinse under cold water only — no soap, no hot water; squeeze gently and rotate until water runs clear
- Tap out remaining water — press firmly, do not twist or wring
- Dry for 24–48 hours minimum — in open air, at room temperature; never use a dryer or heater
- Reinstall only when completely dry — inside and out
That’s the process. Everything below explains why each step matters — and what washing can’t fix.
What Kind of Filter Does Your Dyson Have?
Not all Dyson filters work the same way, and getting this wrong is where most cleaning mistakes start.
Washable Foam/Felt Filters
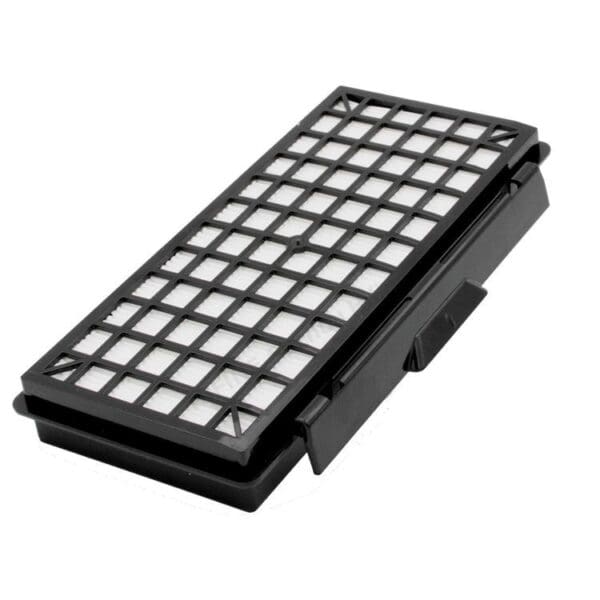
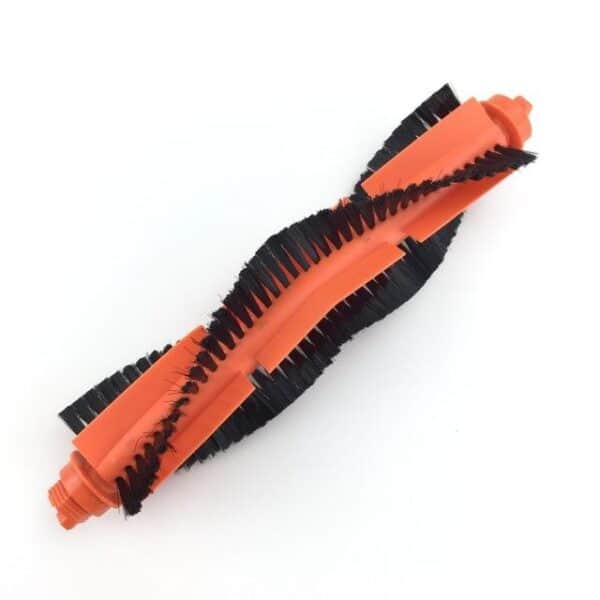
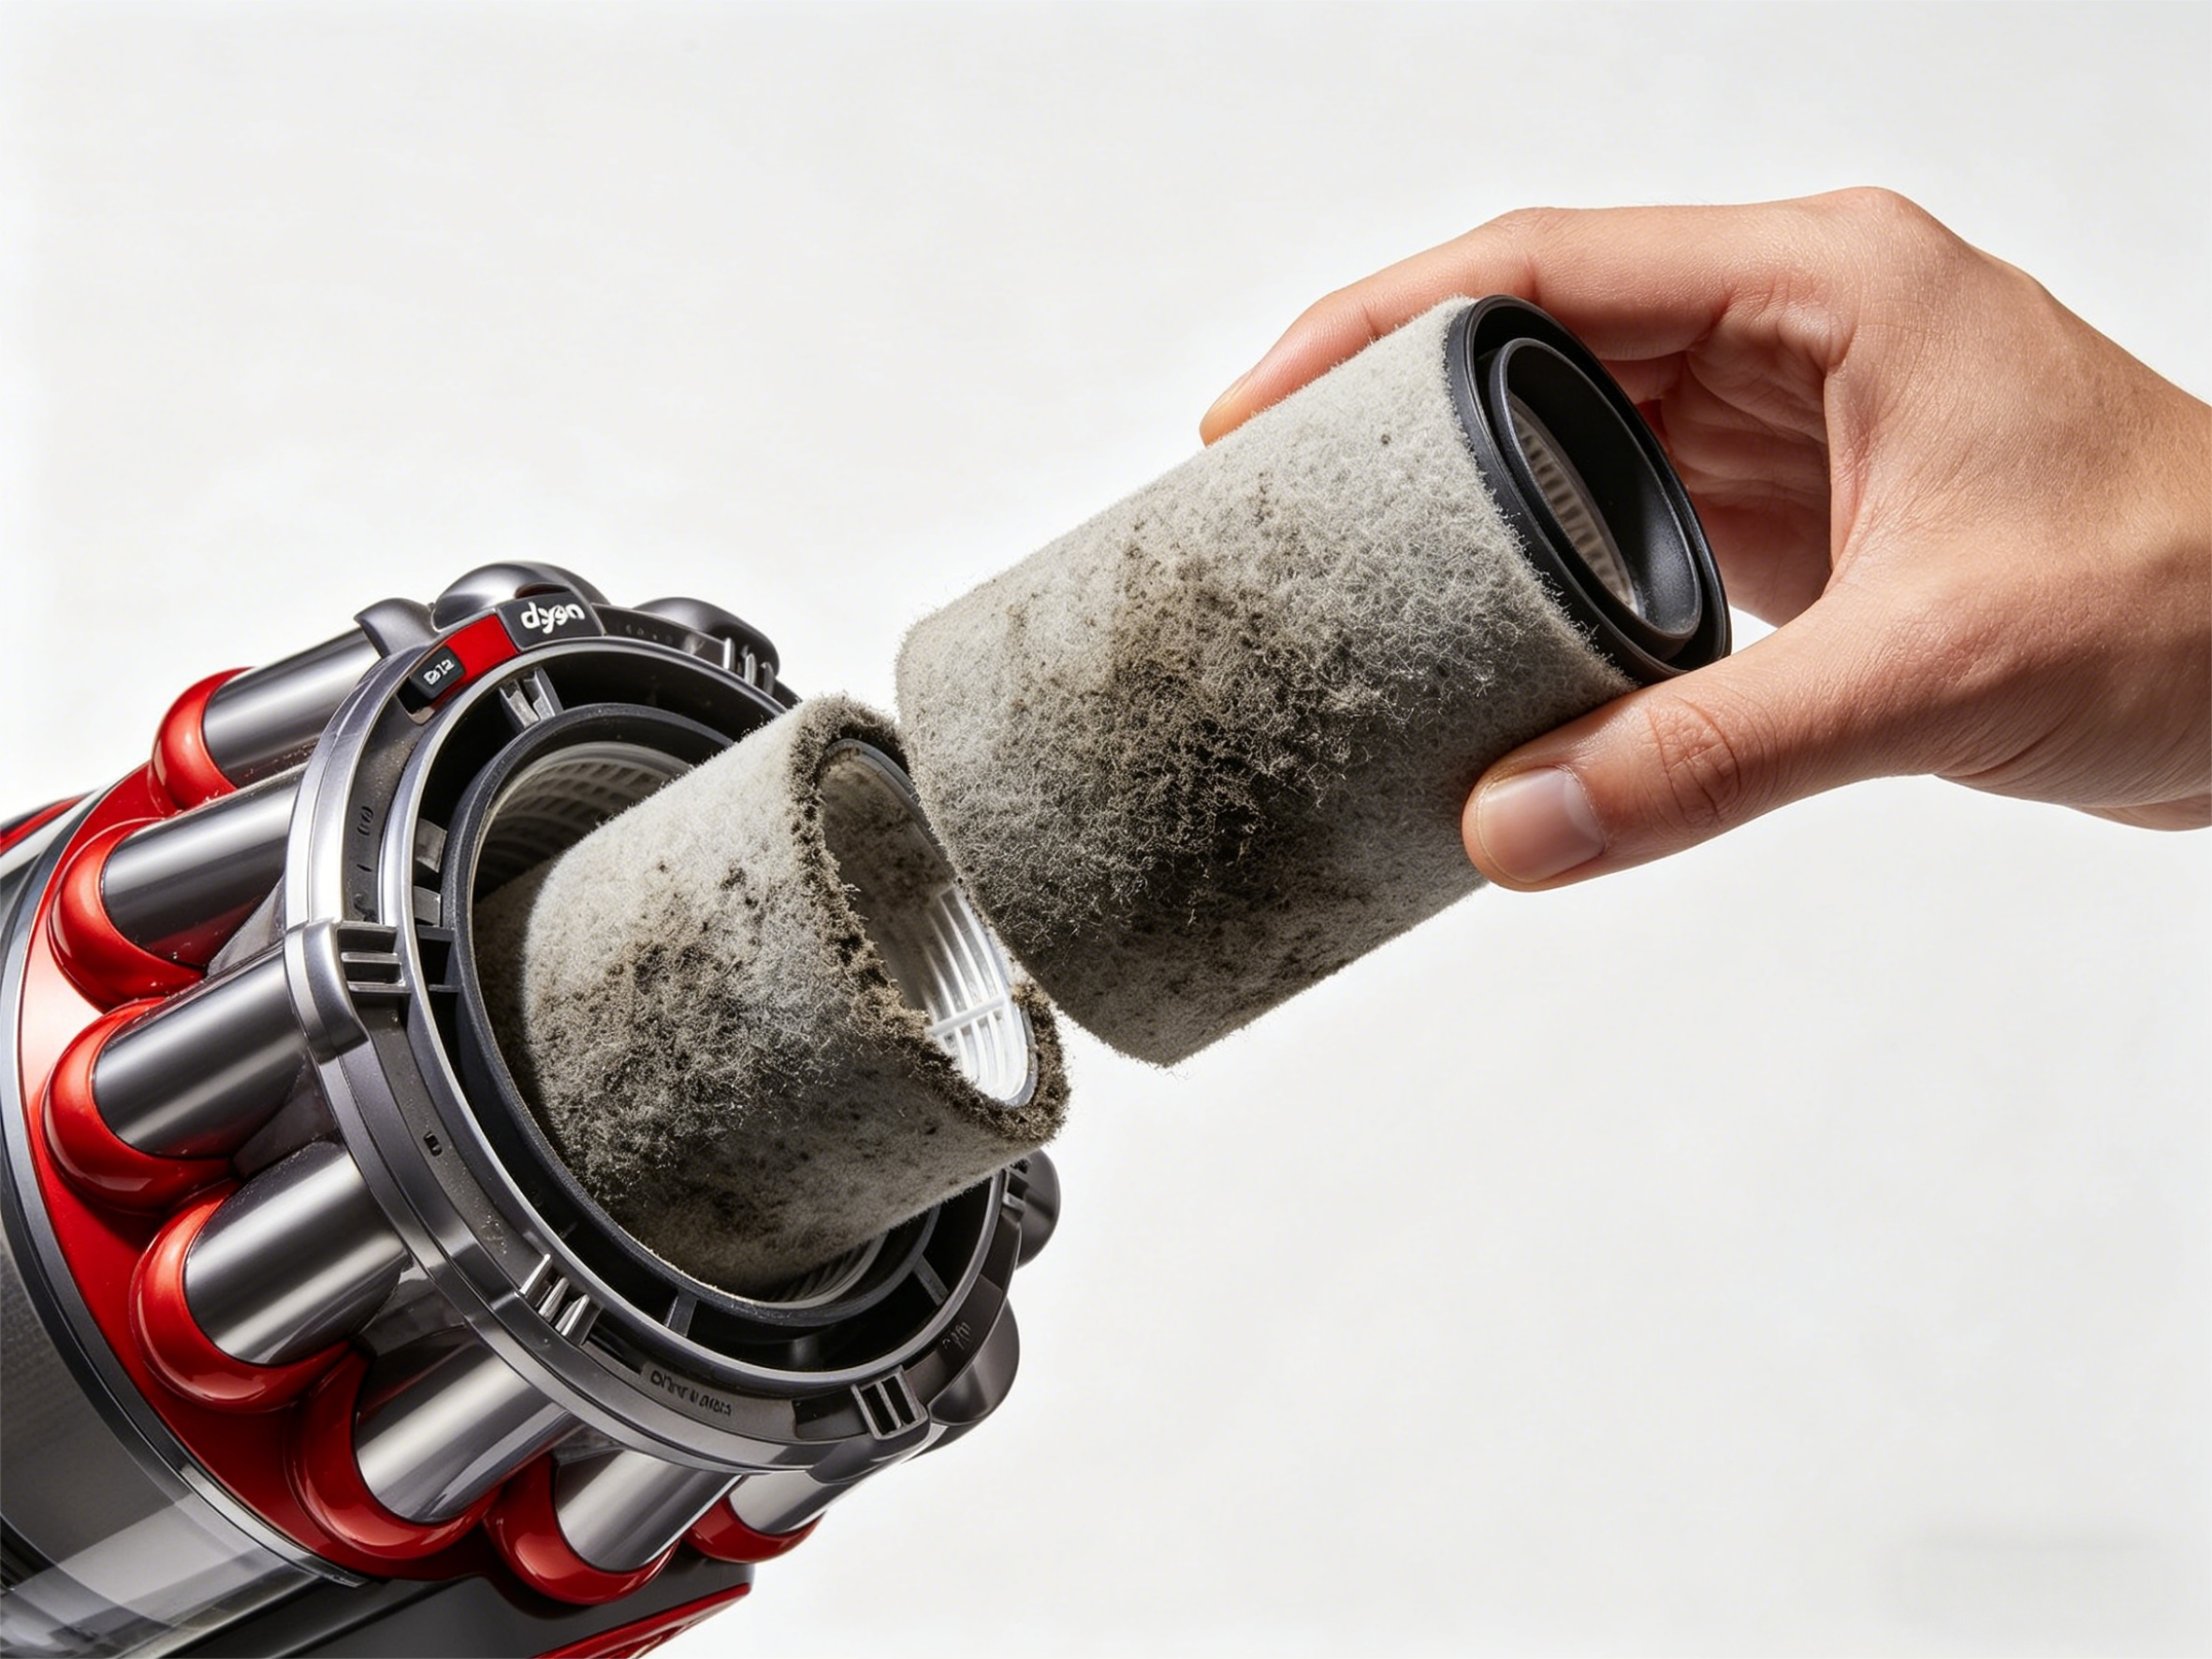
Most Dyson cordless vacuums — including the V7, V8, V10, V11, V12, and V15 — include a cylindrical pre-motor filter made of layered foam and felt. This one is designed to be rinsed and reused. It’s what the steps above apply to.
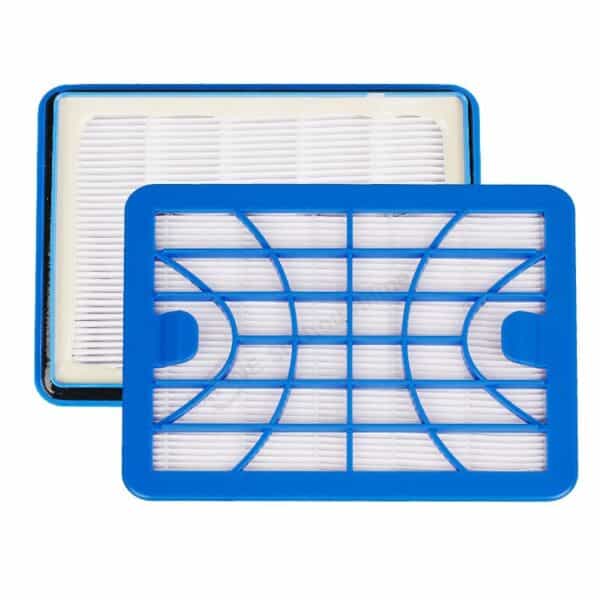
HEPA + Activated Carbon Filters
Dyson air purifiers like the HP04, HP07, TP07, and TP09 use a sealed combination filter — a HEPA-13 layer bonded with an activated carbon layer. These are not washable. Running water through them destroys the filtration structure. The only correct action when these expire is replacement — more on that shortly.
Not sure which you have? Check the filter label or your model number on Dyson’s support page before doing anything.
Step-by-Step: Cleaning a Washable Dyson Filter
Step 1 — Remove the filter Power off your Dyson completely. On most V-series models, the filter sits at the top or rear — twist counterclockwise and pull. Handle it gently; the foam edges can deform if forced.
Step 2 — Tap out dry debris first Before water touches anything, tap the filter firmly over a trash bin a few times. You’ll remove a surprising amount of loose dust this way, which makes rinsing faster and cleaner.
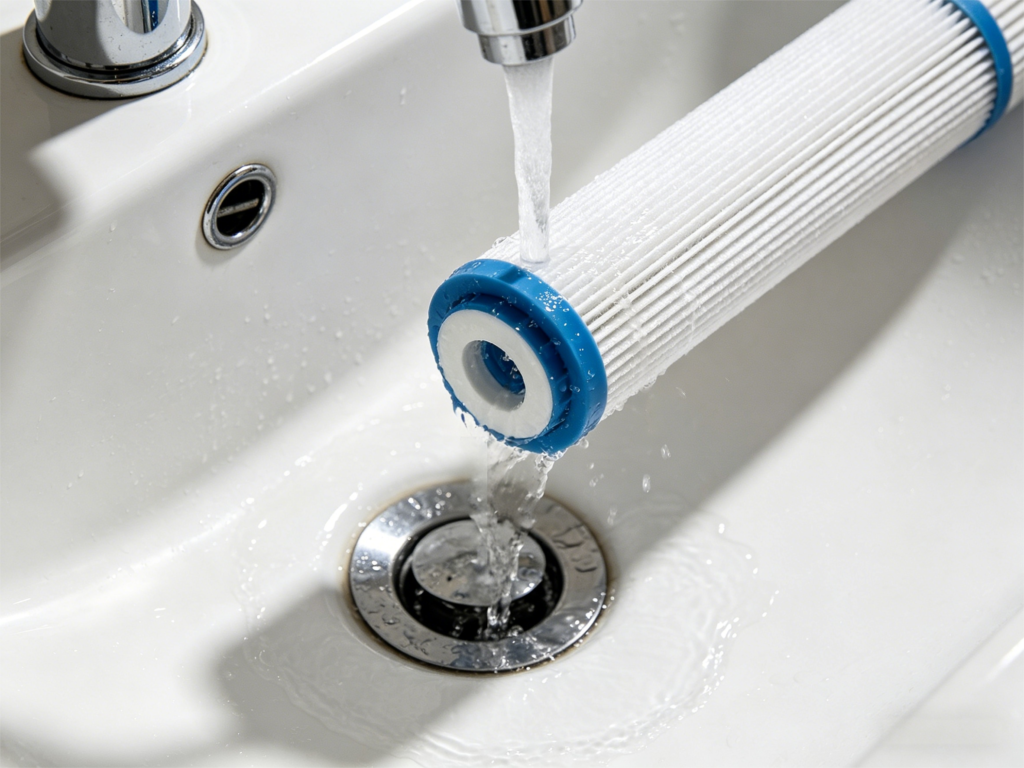
Step 3 — Rinse under cold running water only Hold the filter under a cold tap. Squeeze the foam gently while rotating it so water passes through from every angle. Keep going until what drains out runs completely clear. This can take two to three minutes.
No soap. No warm water. No dishwasher. Hot water warps the foam structure. Soap leaves residue that traps future dust faster and can’t be fully rinsed out.
Step 4 — Press out excess water without twisting Squeeze the filter firmly with both hands to remove standing water. Do not wring or twist — it distorts the cylindrical shape, which affects how well the filter seats inside the machine. A poorly-seated filter allows unfiltered air to bypass it entirely.
Step 5 — Air dry for a full 24–48 hours This is the step most people underestimate. Set the filter upright somewhere warm and ventilated — not in a tumble dryer, not by a radiator, not aimed at a fan heater. Let it sit. A damp filter reinstalled into a running machine is a fast way to grow mold inside the housing and stress the motor.
In humid environments, push that drying window to 48 hours without hesitation.
Does Washing the Filter Really Remove Everything?
Washing a foam pre-motor filter with cold water removes surface-level dust and larger airborne particles. That’s genuinely useful — it restores airflow and reduces motor strain.
But for filters that include activated carbon or HEPA filtration layers, washing runs into a hard physical limit.
Activated carbon works through adsorption — microscopic pores in the carbon trap odor molecules, formaldehyde, VOCs, and other gases by holding them inside the pore structure. Over time, those pores fill up. When they’re full, the carbon is saturated — and washing with water cannot reopen those pores or dislodge what’s bonded inside. The carbon looks clean. It isn’t doing anything anymore.
HEPA fiber layers are even more vulnerable. The filtration efficiency of a HEPA-13 filter comes from its densely packed, randomly oriented fiber matrix. Water disrupts that structure — fibers clump, gaps form, and the filter that used to capture 99.97% of particles above 0.3 microns now lets a significant portion through. Multiple wash cycles accelerate this breakdown.
So if your Dyson has a carbon or HEPA component — whether in a purifier filter or a premium vacuum filter — cleaning can maintain airflow, but it cannot restore filtration performance. You’re running the machine, but the air coming out may not be meaningfully cleaner than the air going in.
How Often Should You Clean Your Dyson Filter?
For washable pre-motor filters: once a month under normal household conditions. Increase that frequency if you have pets, live somewhere dusty, or run the machine daily.
Signs the filter needs immediate attention even if you haven’t hit 30 days:
- Suction has noticeably dropped
- There’s a burning or musty smell during use
- The filter indicator light has activated (V10, V11, V15, and newer models)
- The foam is visibly gray or brown across large areas
For air purifier HEPA/carbon filters: check the replacement indicator in the Dyson app or on the device display. Dyson recommends replacement approximately every 12 months — though actual lifespan varies with usage and air quality in your environment.
For more guidance on reading the signs, see our vacuum filter replacement guide.
Time for a Fresh Start?
If your filter has been in service for more than 6–12 months, still smells after a correct clean and full dry, or the foam has gone stiff and rigid — washing isn’t the solution anymore. The filter has done its job. What’s left isn’t protecting your air; it’s just moving it around.
Replacing it isn’t an admission that something went wrong. It’s how the system is supposed to work.
HIFINE’s Dyson-compatible replacement filters are built to the same airflow and filtration density specs as OEM filters — with an added activated carbon layer that handles odors and VOCs most standard replacements skip. They’re ISO9001 certified, tested for Dyson-specific fit and seating tolerance, and priced well below the manufacturer option.
→ Find Your Dyson Filter Replacement at HIFINE
Use the filter compatibility tool to match your Dyson model number to the correct replacement in under a minute.
常见问题
Any soap or detergent leaves residue embedded in the foam that is nearly impossible to fully rinse out. That residue then acts as an additional particle trap — your filter clogs faster, not slower. Cold water is all you need, and all you should use.
Not if it hasn’t been 24 hours. Foam dries unevenly — the outer surface feels dry while the inner layers are still holding moisture. Reinstalling too early pulls damp air over the motor, which causes mold and long-term mechanical stress.
It depends on the type. For pure foam/felt pre-motor filters, repeated washing does gradually degrade the foam — but the bigger issue is structural wear. If washed and dried correctly each time, most last 12 months before filtration performance drops meaningfully. If it smells, has tears, or no longer restores suction after a wash: replace it.