

Replacing a cabin air filter is one of those maintenance tasks that feels like a small victory. It’s cheap, it makes your AC smell better, and for most cars, it takes less time than a coffee break. But if you’ve ever popped the hood or opened the glove box only to stare at a smooth panel with no obvious way forward, you know the process isn’t always intuitive.
The reality is that there is no single standard for where manufacturers hide these filters. While the replacement part is fairly universal, the path to get to it changes from model to model. Before you start prying at plastic trim, it helps to understand exactly what you’re looking for. This guide breaks down every common access point so you can find yours and get the job done right.
How to Identify Your Cabin Air Filter Access Type
Most vehicles fall into one of four categories. Knowing which one applies to your car saves you from guessing and potentially breaking a clip.
Glove Box That Swings Down on Its Own
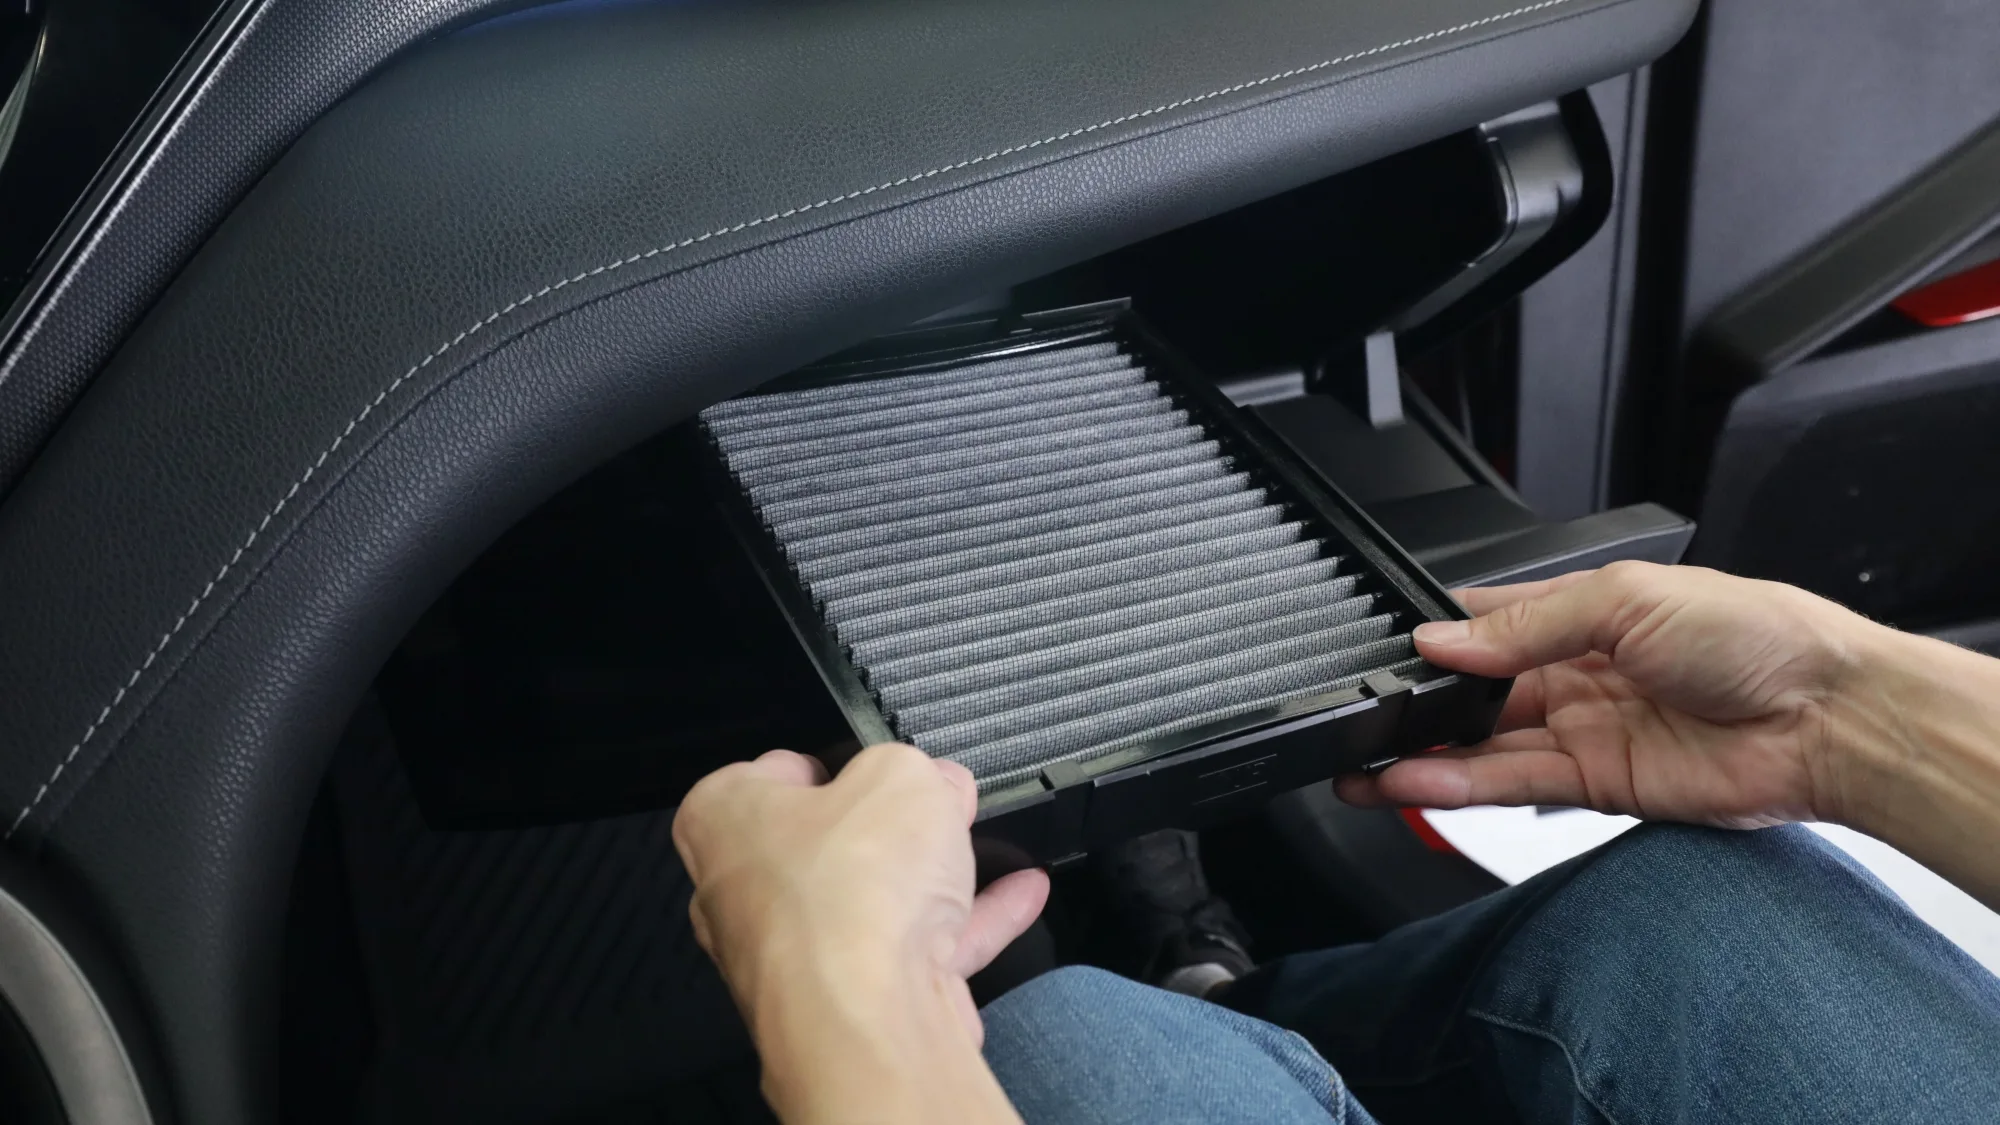
This is the most common setup, found in about 70-80% of cars like Toyotas, Hondas, and Nissans. You don’t need tools here. The glove box has a hinge that lets it swing all the way down once you release a tension arm or squeeze the sides inward. Behind it, you’ll see a thin rectangular cover holding the filter.
Glove Box That Has to Come Out Completely
Some cars, including certain Audis, Volkswagens, and older Toyotas, are trickier. The glove box doesn’t just drop down; you have to unscrew it and pull the whole assembly out of the dashboard. It adds maybe ten minutes to the job, but it’s still manageable with a standard screwdriver.
Filter Hidden Under the Hood
If you can’t find anything inside the car, check under the hood. On some BMWs, Fords, and VWs, the filter lives under a plastic panel at the base of the windshield on the passenger side. You’ll need to pop the hood and remove a few clips or screws to lift that cowl cover. Pro tip: clear away any leaves or debris first so they don’t fall into the housing when you open it.
Filter Behind a Panel Near Your Feet
This layout keeps the filter accessible but hides it away from the glove box. Look for a small rectangular panel low on the dash near where your passenger’s feet go. GM and Chrysler models often use this spot. Since the exact location varies, checking your owner’s manual before you start crawling around the footwell is a smart move.
Unsure which filter your car needs? Consulting your owner’s manual is the best approach. Look for “cabin air filter” or “HVAC filter” in the manual’s index. Alternatively, you can contact our engineers and tell them about your car; they will recommend the best replacement filter.
How to Change the Filter
Once you’ve found the access point, the actual swap is straightforward. Here is how to handle each type without forcing anything.
For Glove Boxes That Swing Down
Start by emptying the glove box completely. Look for the tension arms on the sides—squeeze them or push the sides of the box inward to let it swing down past its normal stop. You’ll see a thin cover with tabs. Press those tabs to release the cover, then slide the old filter out. Before tossing it, note the airflow arrow printed on the frame. Slide the new filter in facing the same direction, snap the cover back, and push the glove box up until it clicks. No tools needed.
For Glove Boxes That Need Full Removal
This follows the same logic but requires a screwdriver. Empty the box, locate the mounting screws along the top or sides, and remove them. Gently pull the assembly free to expose the filter cover. Swap the filter just like the drop-down method, making sure the airflow arrow matches. Reinstall the glove box assembly and tighten the screws snugly—but don’t overtighten, or you risk cracking the plastic.
For Under-Hood Cowl Access
Pop the hood and find the plastic cowl panel at the windshield base. Remove the clips or screws holding it down. Lift the cover carefully to expose the housing. Slide out the old filter, check the airflow direction, and install the new one. Before closing up, take a second to wipe away any dirt or leaves around the area. Reinstall the cowl cover and secure the clips.
For Under-Dash Panels
Locate the access panel near the passenger footwell. It might be held by screws or simple push-clips. Remove them, slide out the old filter, and swap in the new one with the correct orientation. Reattach the panel securely. Since you’re working in a tight space, a flashlight helps a lot here.
How Often Should You Change Your Cabin Air Filter?
A common follow-up question is frequency. The general rule of thumb is every 15,000 to 30,000 miles, or roughly once a year. However, your driving habits matter. If you commute in heavy traffic, drive on dusty roads, or live in an area with high pollen counts, you might need to swap it closer to the 15,000-mile mark.
Signs you need a change sooner include:
- Weak airflow from the vents even on high settings.
- A musty or moldy smell when the AC turns on.
- More dust than usual settling on your dashboard.
- Whistling noises coming from the intake area.
Special Cases: Tesla, Nissan, and BMW
Some vehicles don’t play by the standard rules. Tesla vehicles are typically equipped with two filters: one behind the glove box and another, larger filter located in the rear of the front trunk. Don’t forget the second one; replacing only the easy-to-reach filter leaves half the system dirty.
Certain Nissan Altimas place the filter against the center bulkhead, requiring a different removal angle than the typical side-access setup. And for some BMW 3 Series models, access routes through trim near the passenger airbag. If your car involves working near safety components like airbags and you aren’t 100% confident, it’s worth paying a shop. The labor cost is usually modest, and it’s better to be safe than to trigger a fault code.
Getting the Right Filter Size and Type
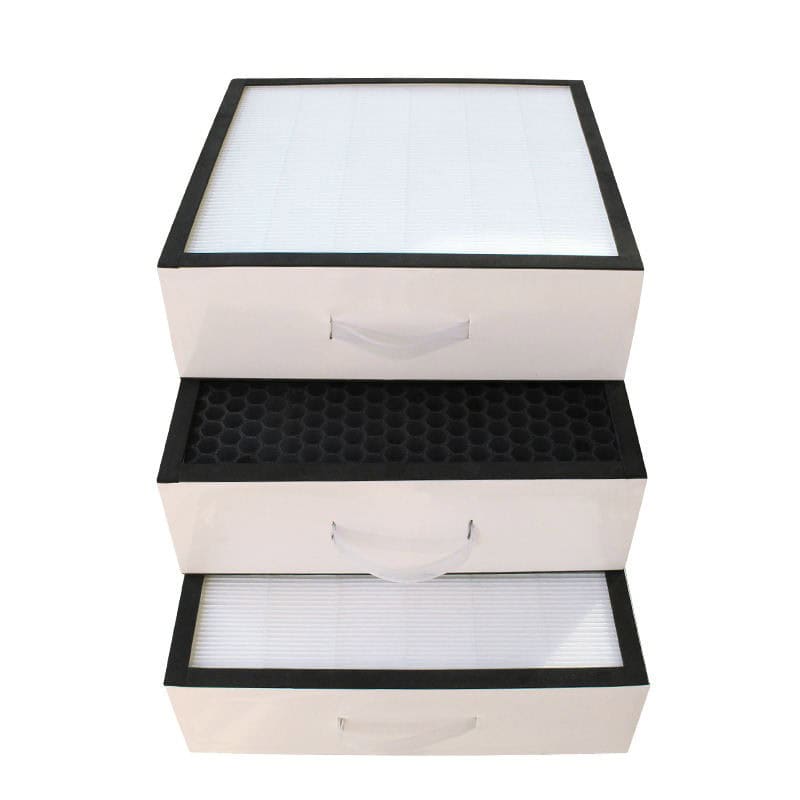
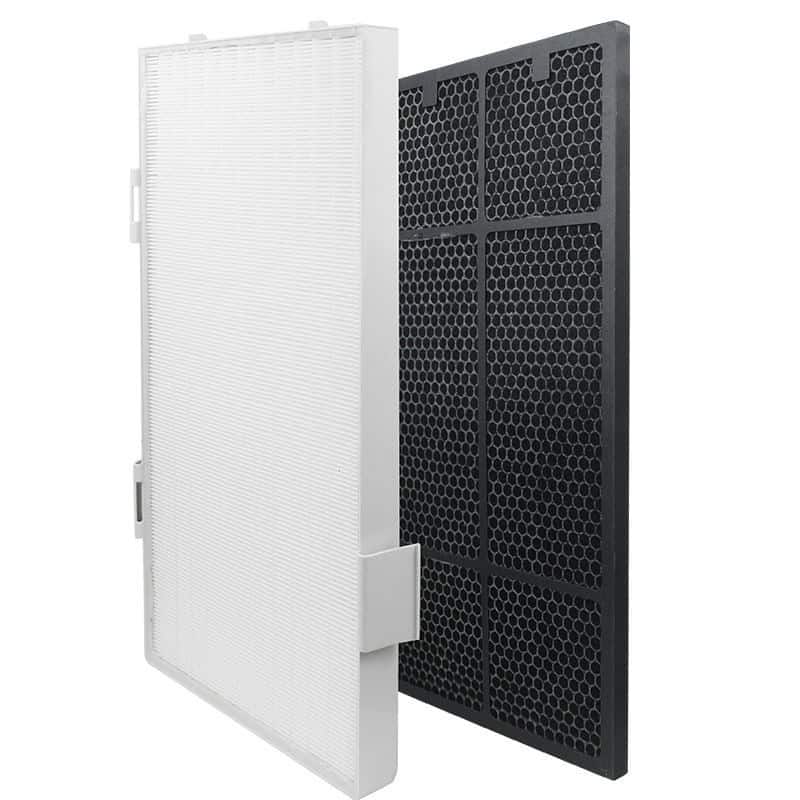
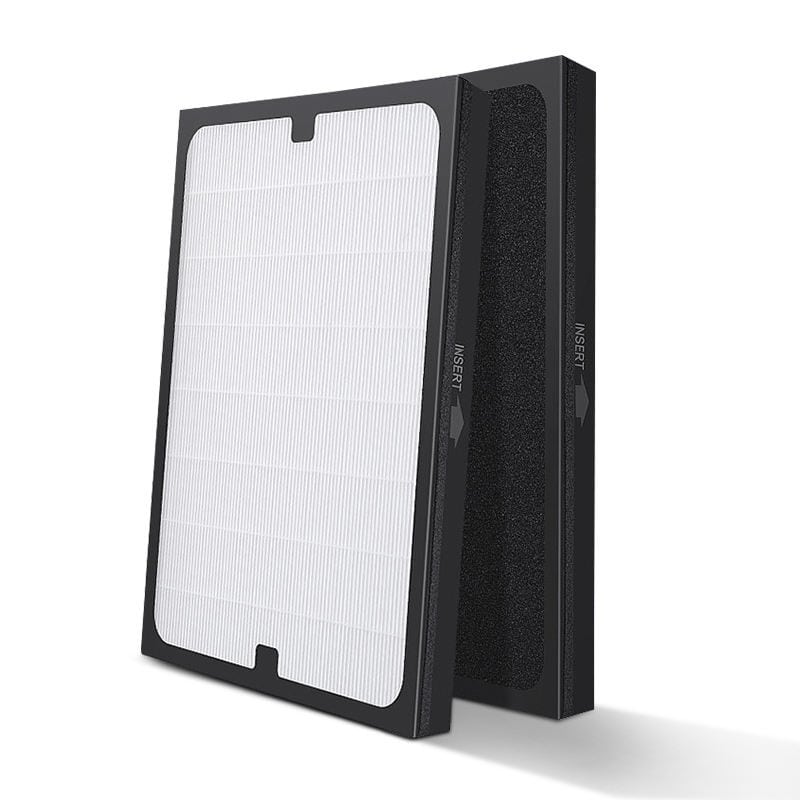
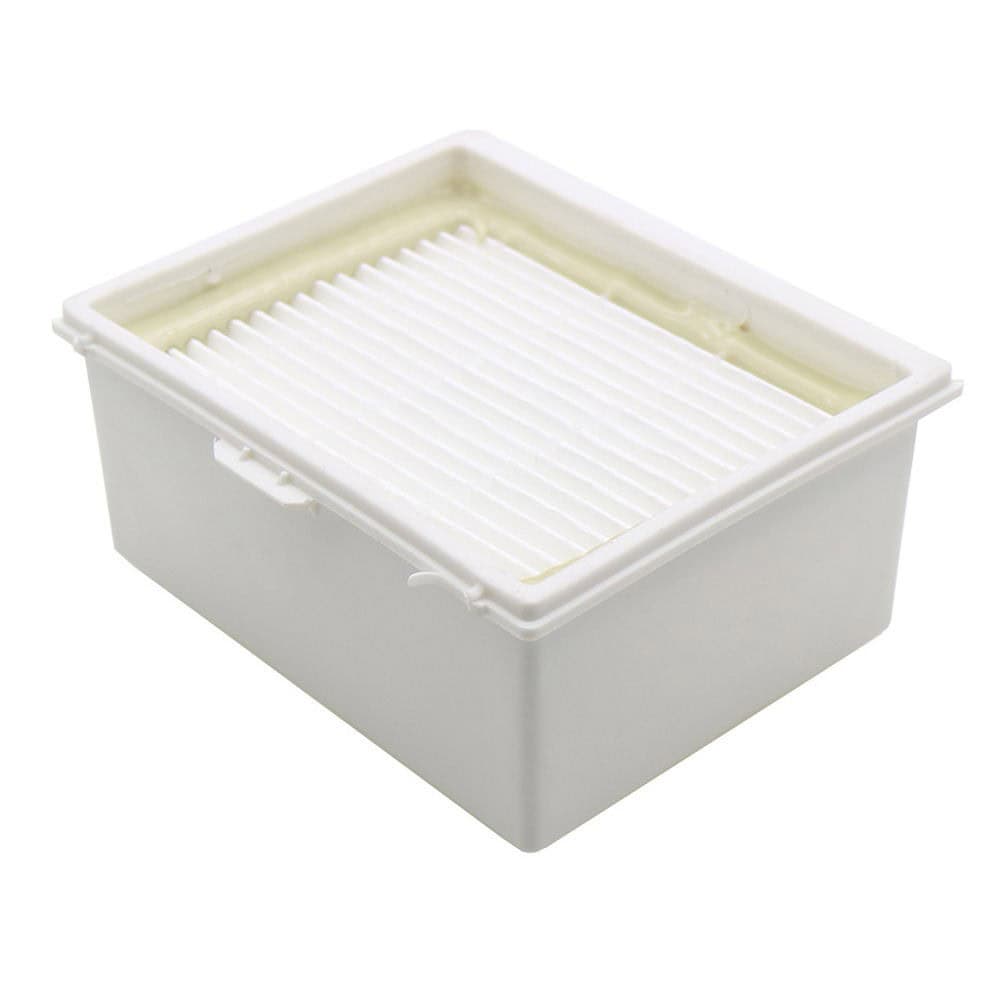
Regardless of where it lives, the filter must match your housing exactly. Even a slight size difference means gaps where unfiltered air can sneak through. Also, consider what you’re trying to fix. If odor is your primary concern, then a regular particulate filter will not meet your needs; please look for an activated carbon filter. Brands like HIFINE make OEM-spec filters across all these access types, ensuring a proper seal whether you’re doing a single swap or stocking up for multiple vehicles.